PowerMind Transcribe User Guide
This page is the full visual tour. Screenshots are from live PowerMind AI Studio → Transcribe.
Always check the project in the top bar (example: AI Project) so you are in the right workspace.
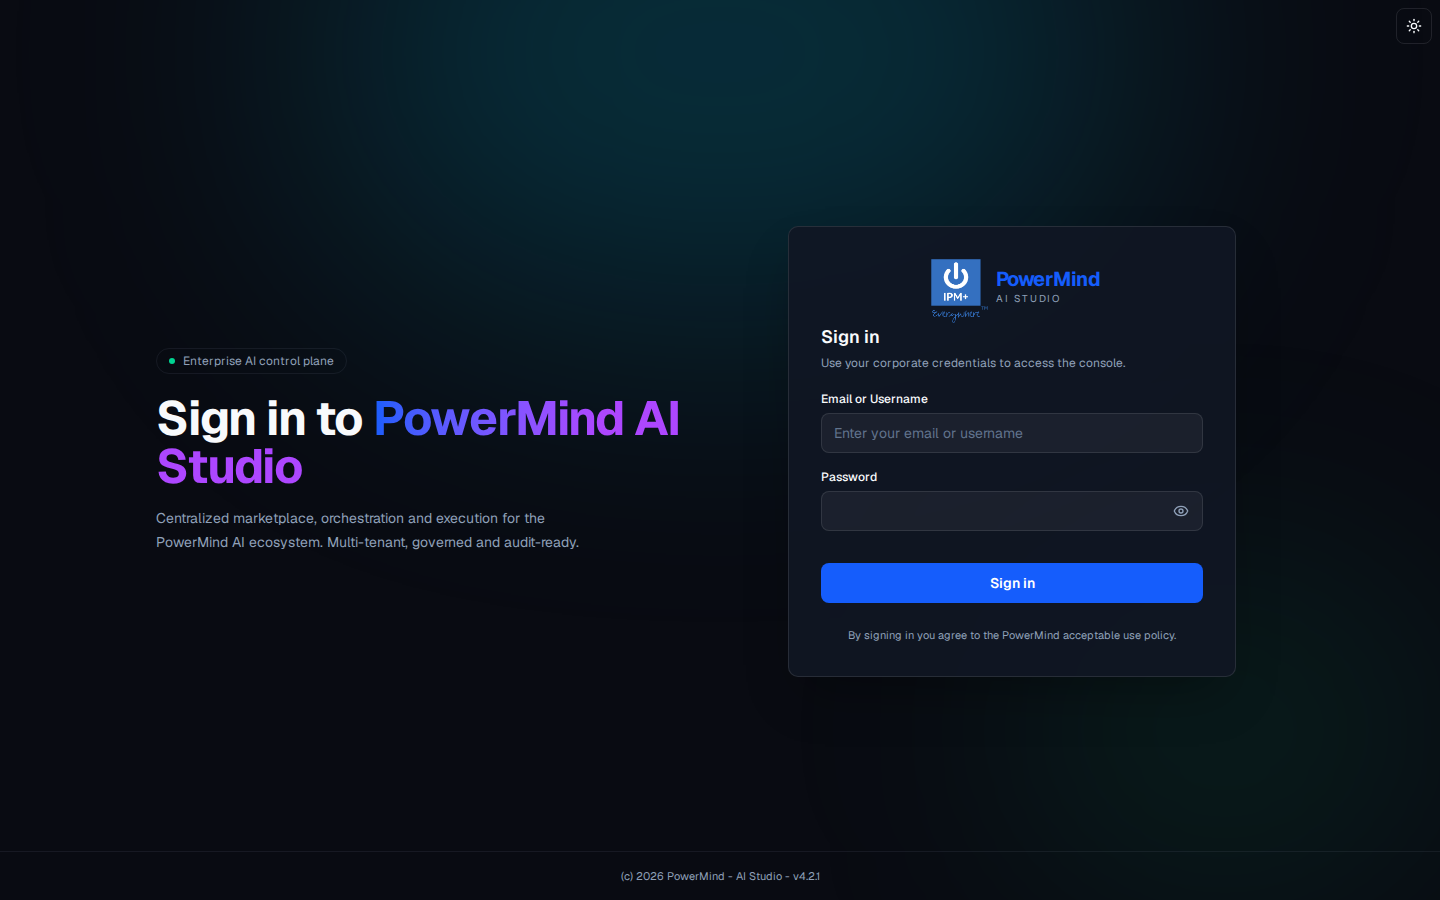
1. Sign in
Corporate username/email and password. Theme toggle is the sun icon, top right.
2. Tool Marketplace (hub)
Left menu: Studio / Tools, DATAOPS, LLMOPS, Administration. Transcribe is under AIaaS.
Filters at the top: All, MLOps, LLMOps, DataOps, AIaaS.
Cards show Available (Launch), External, or Not enabled.
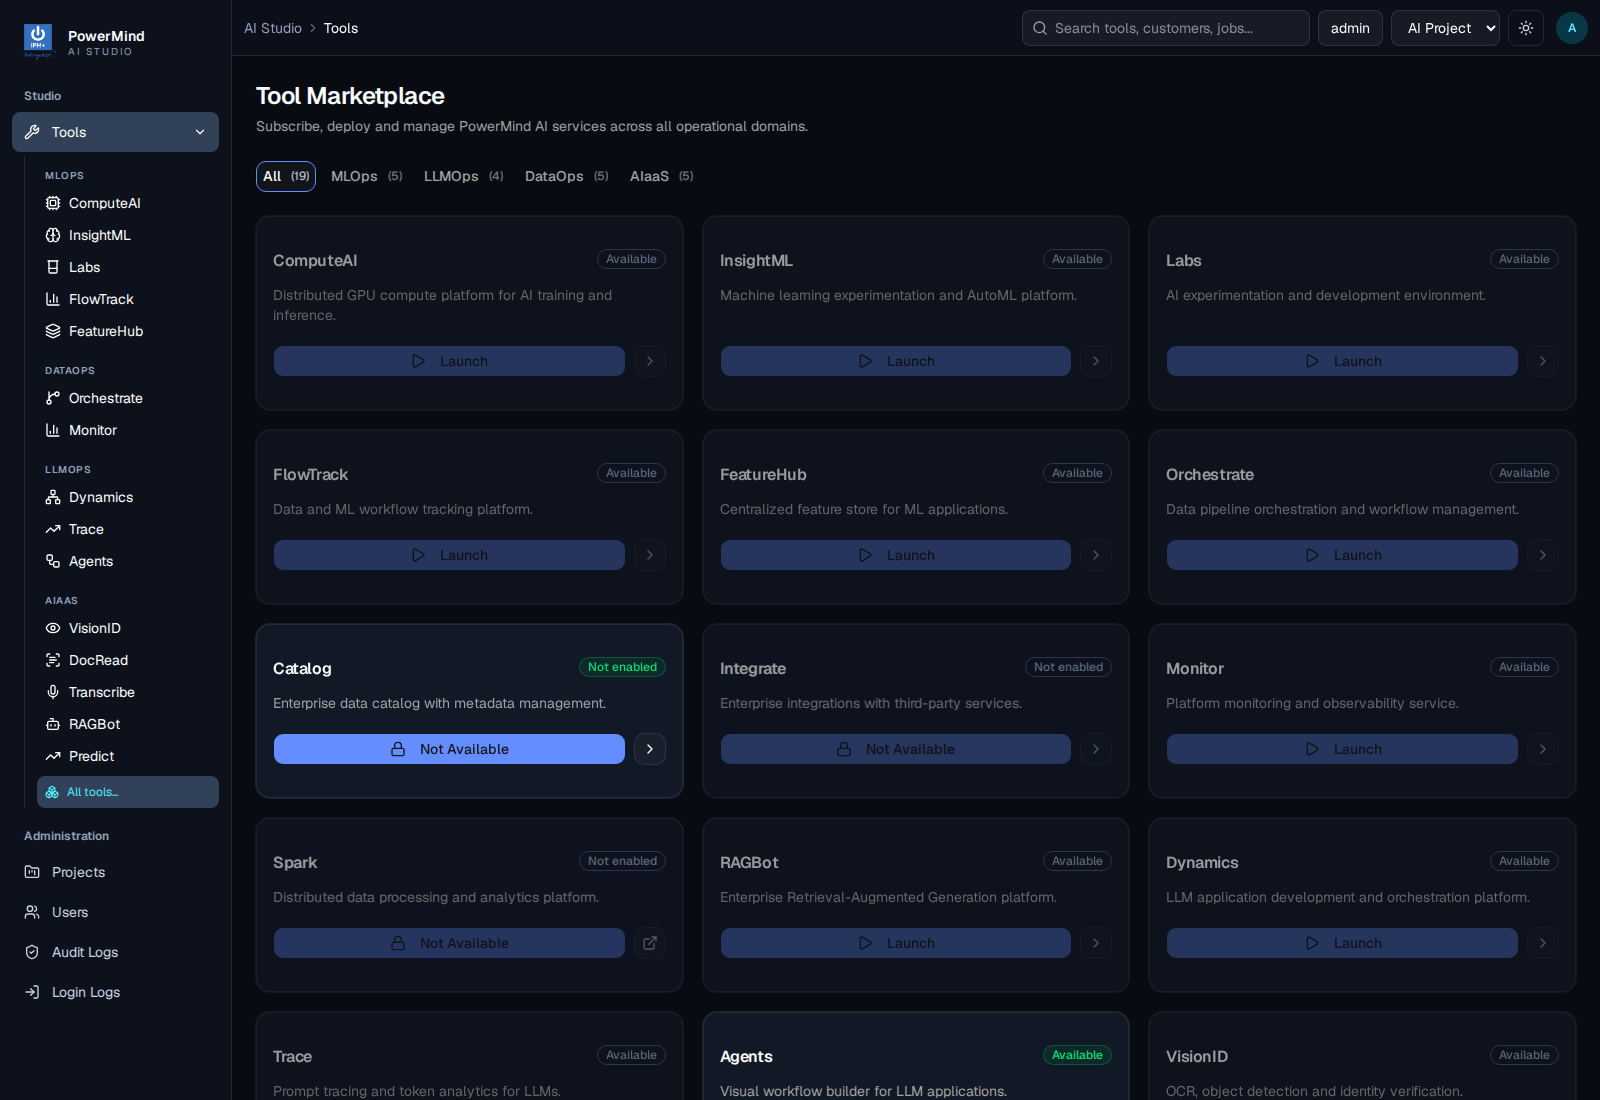
Open Transcribe. Header: PowerMind Transcribe — Enterprise speech-to-text · AIaaS.
3. Dashboard
Tab: Dashboard. Breadcrumb: AI Studio > Tools > transcribe.
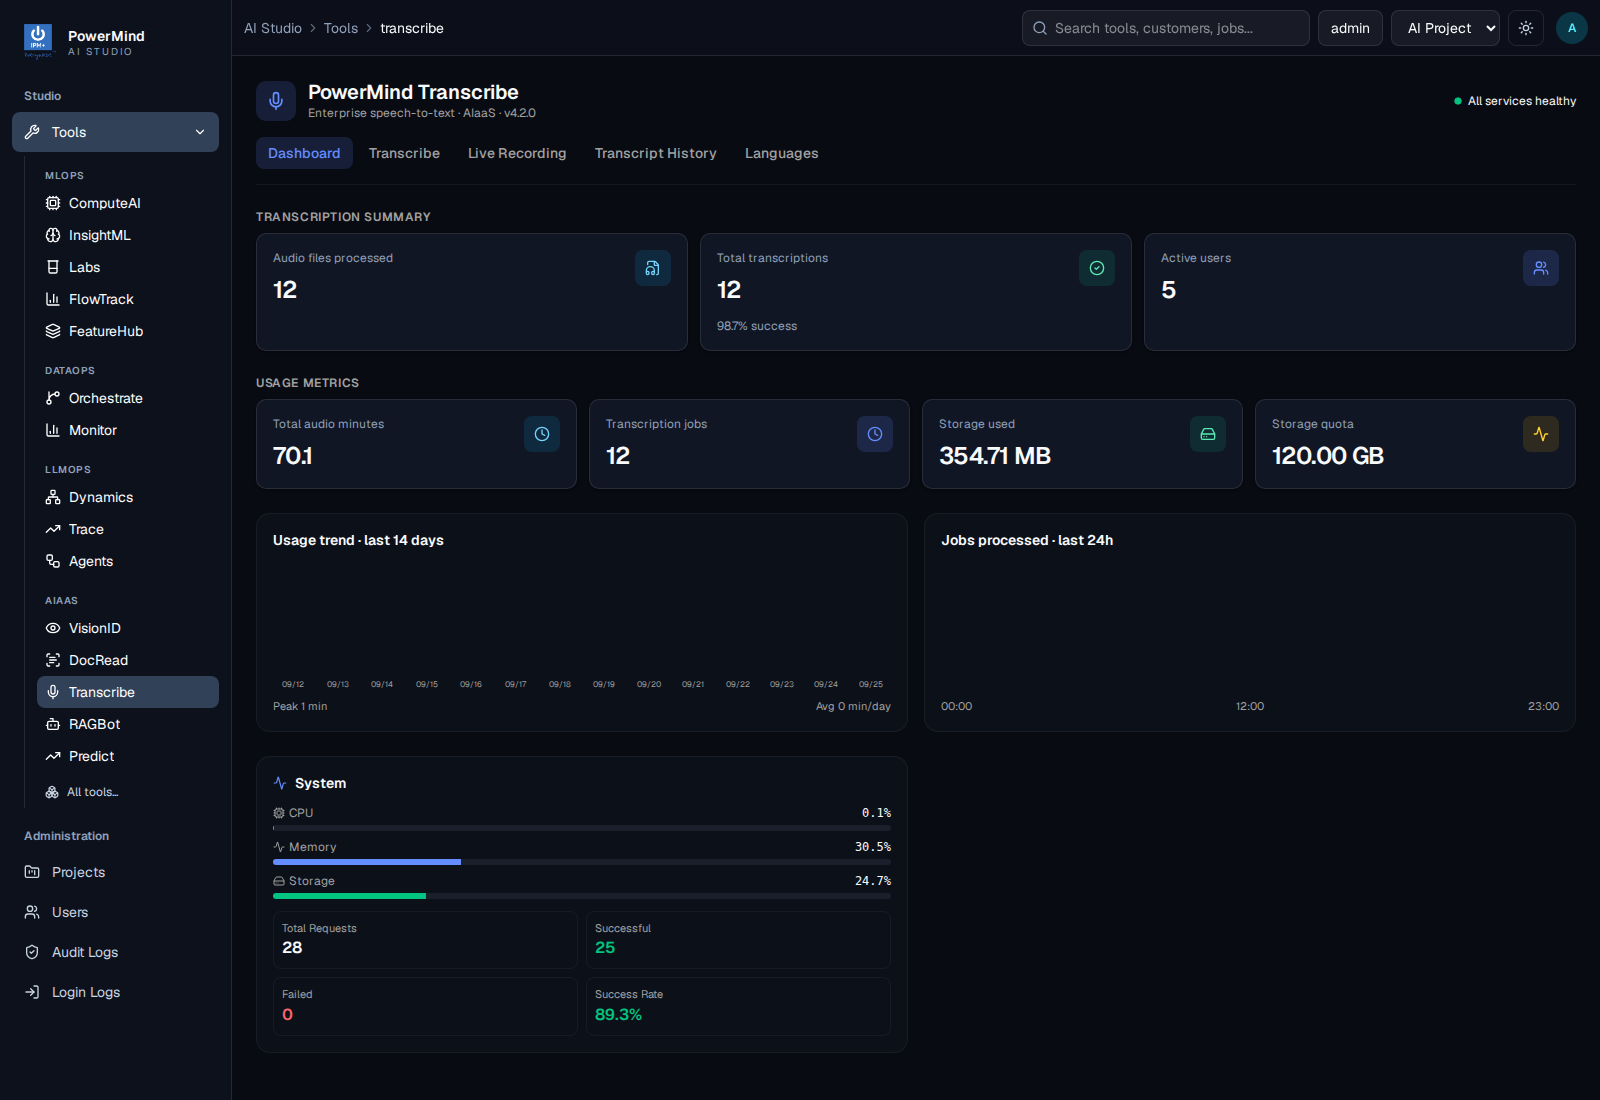
Transcription summary: audio files processed, total transcriptions, success rate, active users.
Usage metrics: total audio minutes, transcription jobs, storage used, storage quota, usage trend.
Use this tab to see whether work is already in the system.
4. Transcribe (file upload)
Tab: Transcribe. Breadcrumb: … > transcribe > upload.
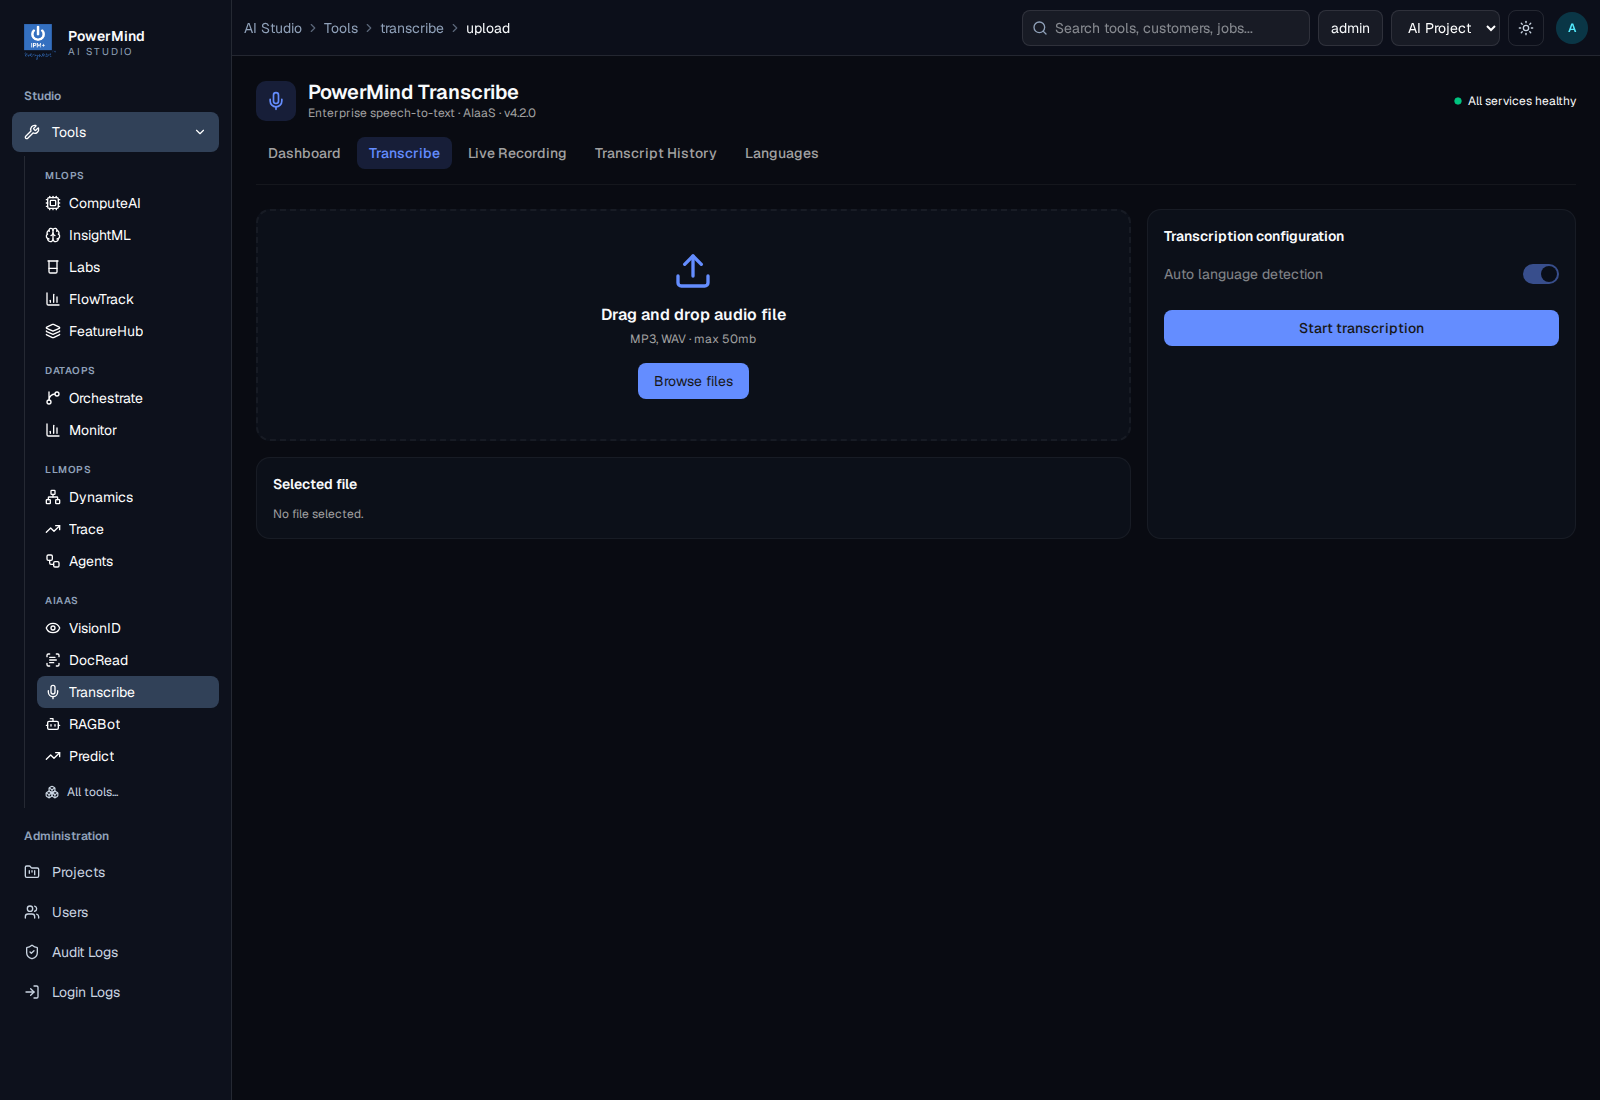
- Drag and drop audio file (MP3, WAV — max size shown on screen).
- Or Browse files.
- Confirm Selected file, then run transcription.
5. Live Recording
Tab: Live Recording.
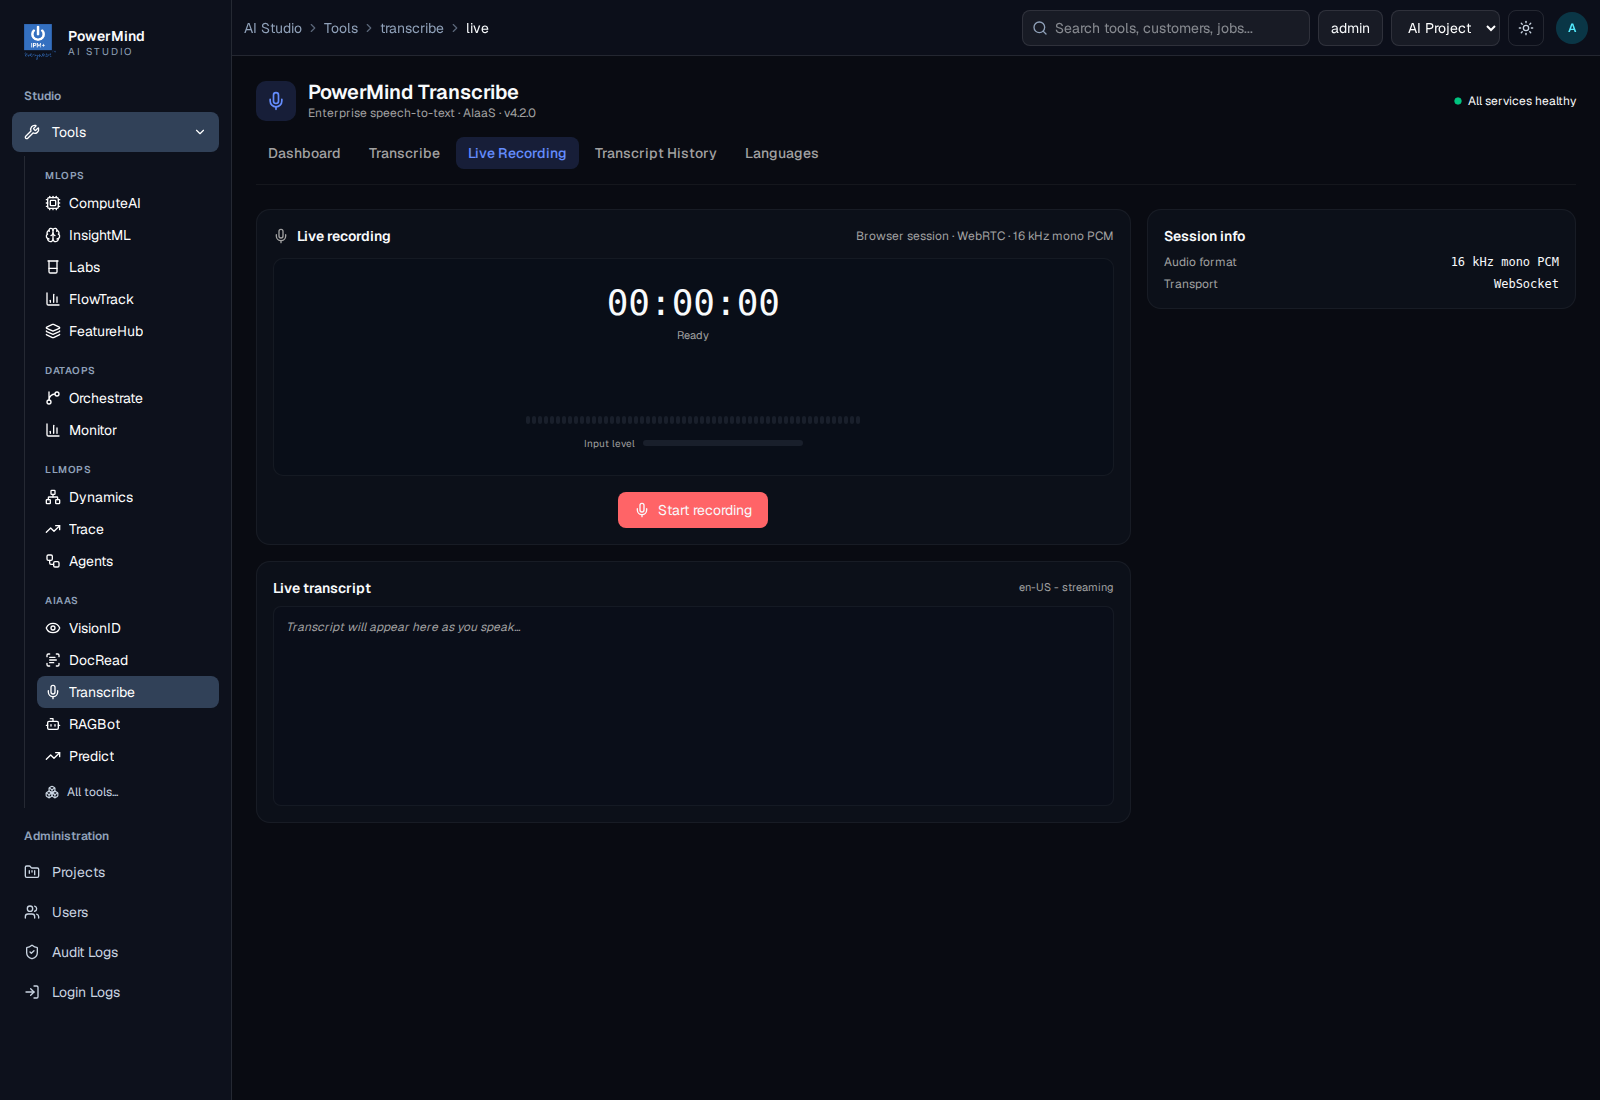
- Browser session · WebRTC · 16 kHz mono PCM
- Start recording / stop
- Live transcript appears as you speak
- Session info on the side (timer, input level)
The UI invents a session id; you do not request one from the server.
6. Transcript History
Tab: Transcript History.
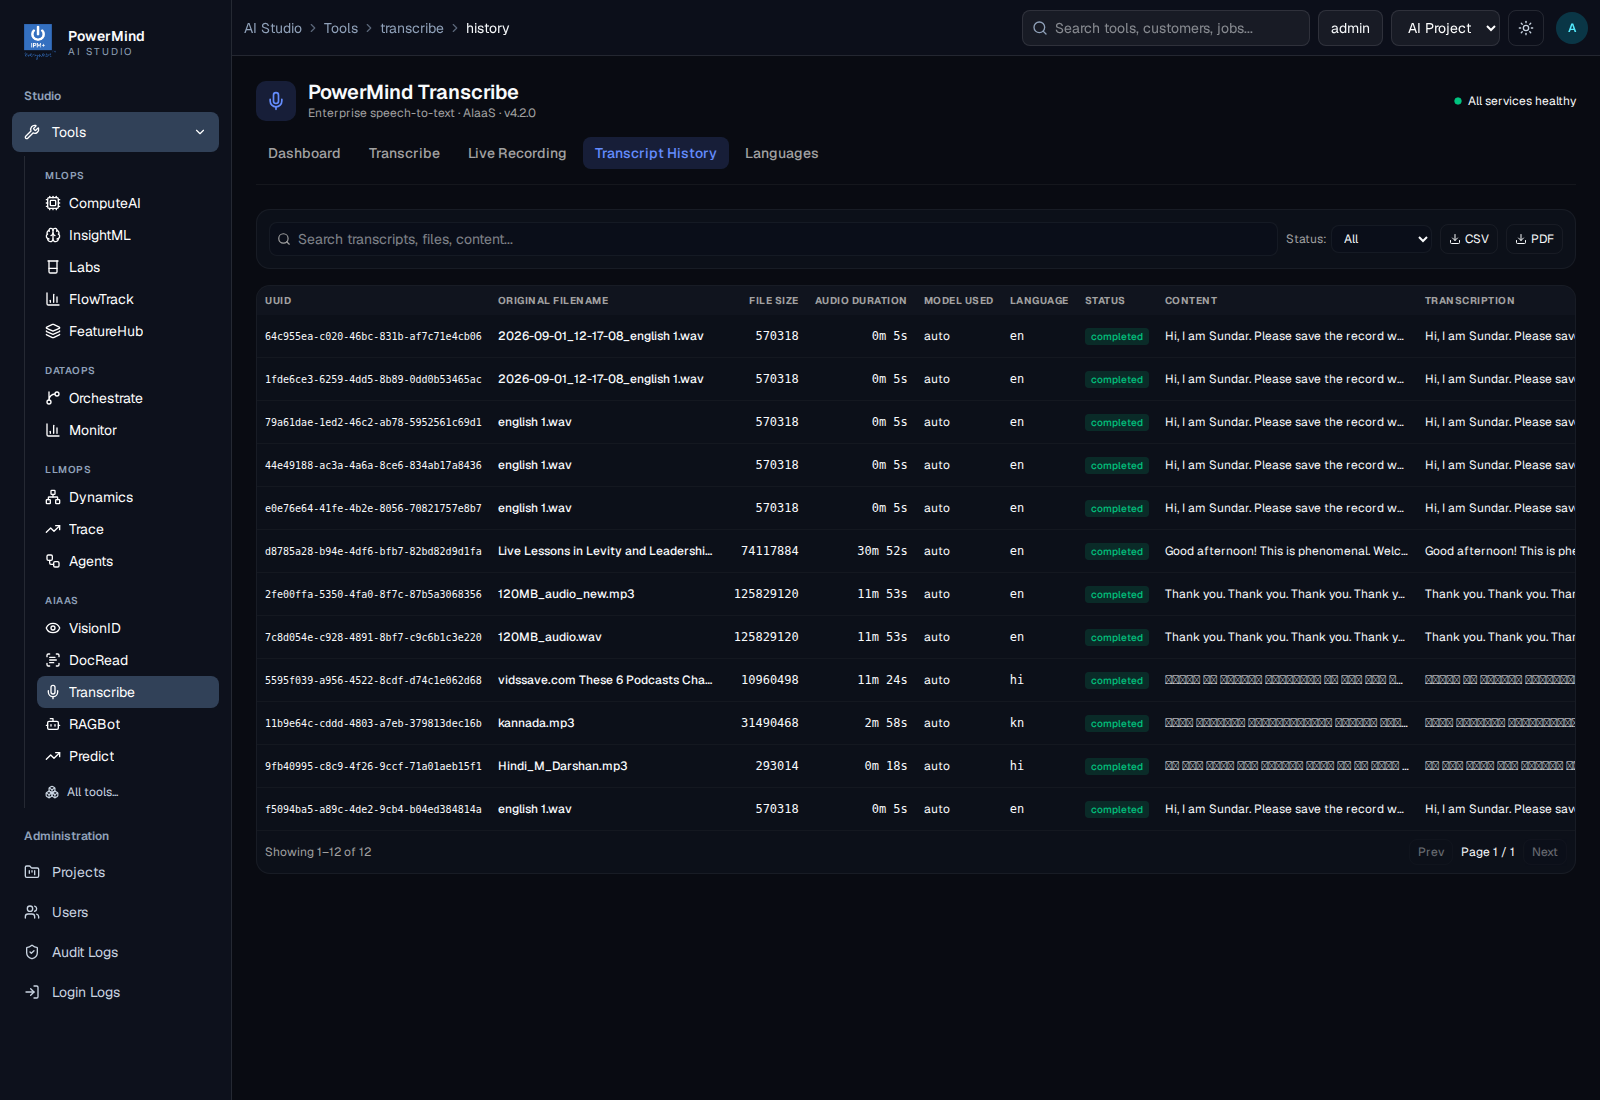
| Column | Meaning |
|---|---|
| UUID | Job id |
| Original filename | What you uploaded |
| File size / duration | Audio metadata |
| Model used | auto / whisper / ai4bharat |
| Language | Detected language |
| Status | queued / processing / completed / failed |
| Content / transcription | Text when completed |
| Actions | Open / delete (as shown) |
Filters: All, Completed, Processing, Queued, Failed. Export CSV / PDF.
7. Languages
Tab: Languages.
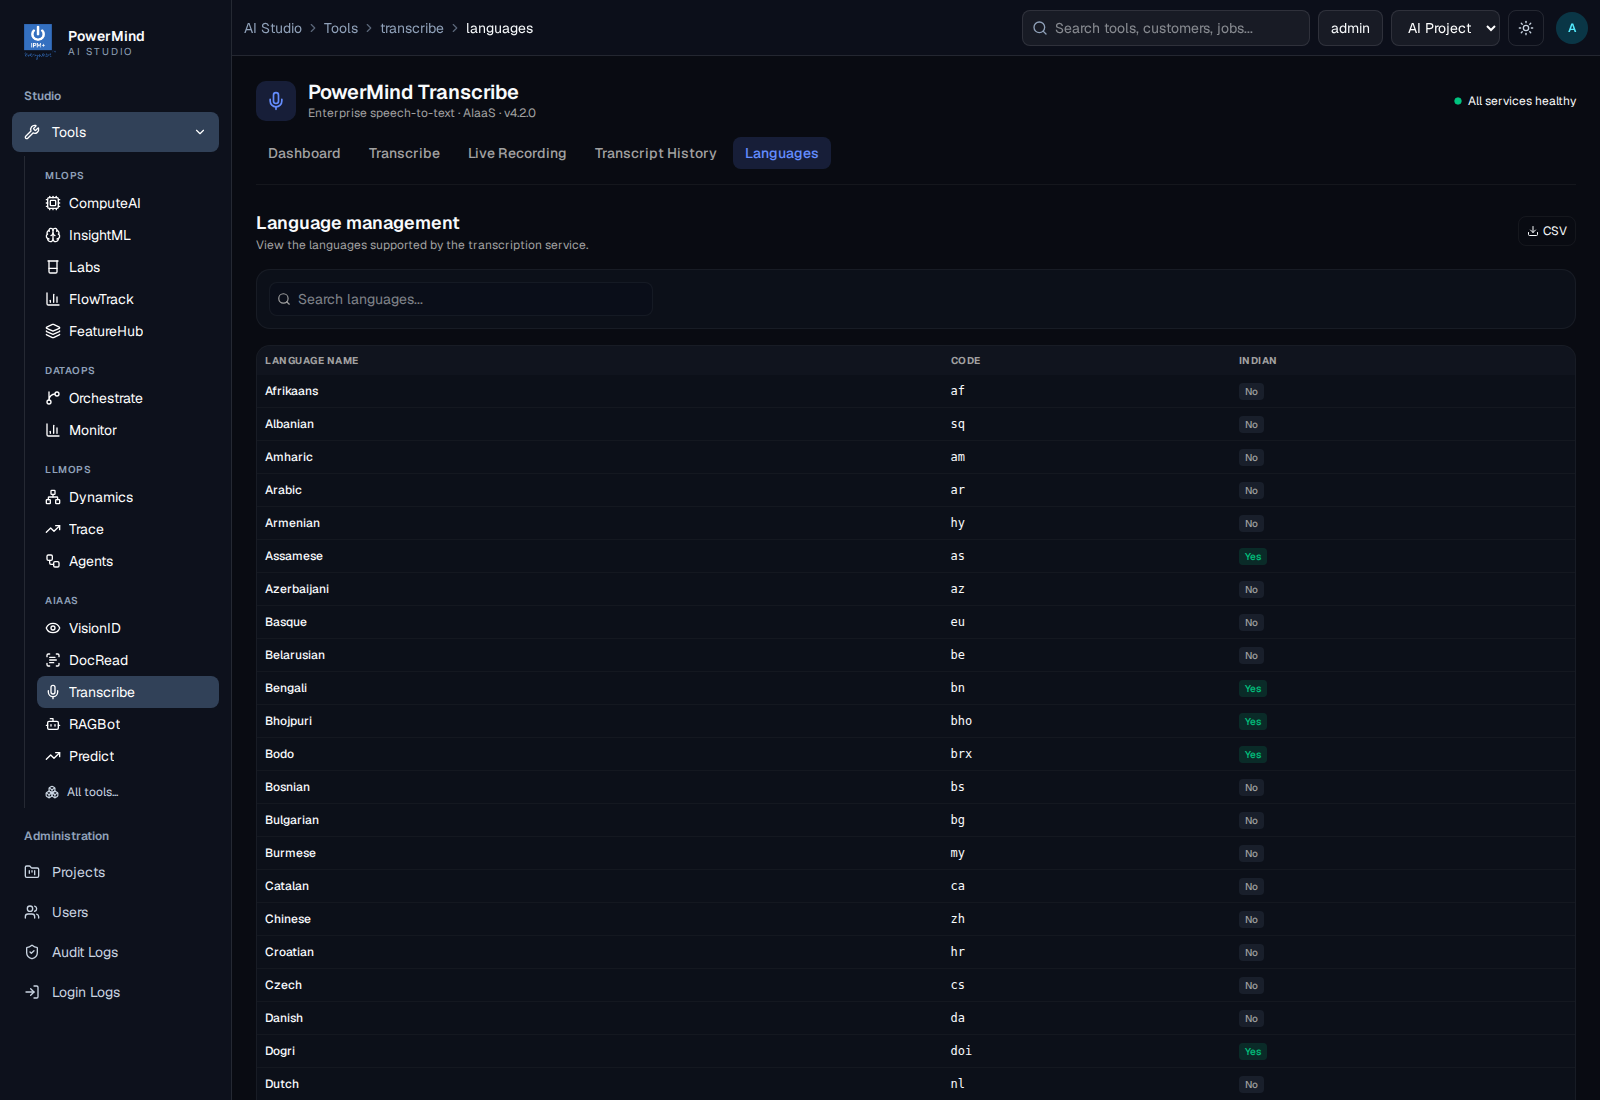
Lists languages supported by the service (code, name, Indian vs other). Use this when the product UI or your app needs a dropdown.
8. Studio Projects (admin)
Administration → Projects. Associate Transcribe with a project (example: AI Project).
Edit project → A1 tools must include Transcribe, then Save changes. The marketplace still needs the Transcribe backend healthy before Launch works.
9. Studio Users & Audit Logs
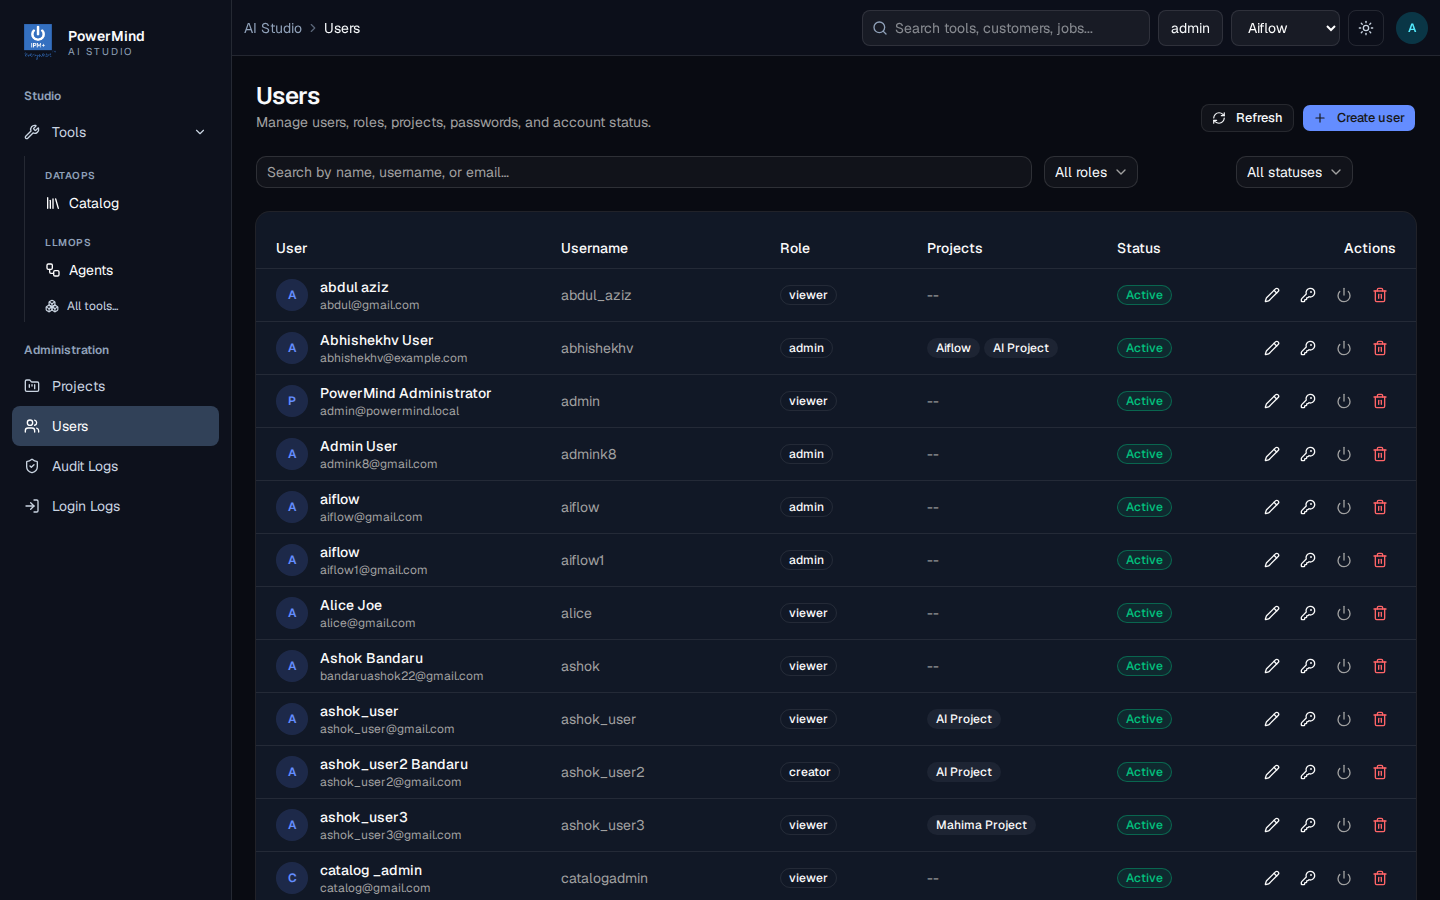
Administration → Users: roles, projects, status.
Administration → Audit Logs: timestamp, user, action, tool, status, message.
This is the Studio-wide log (not the Transcribe API /audit/logs endpoint).
10. Swagger (API console)
For authorized integrators, open /docs on the assigned Transcribe API host. Select Authorize and use the Bearer token supplied for your integration.
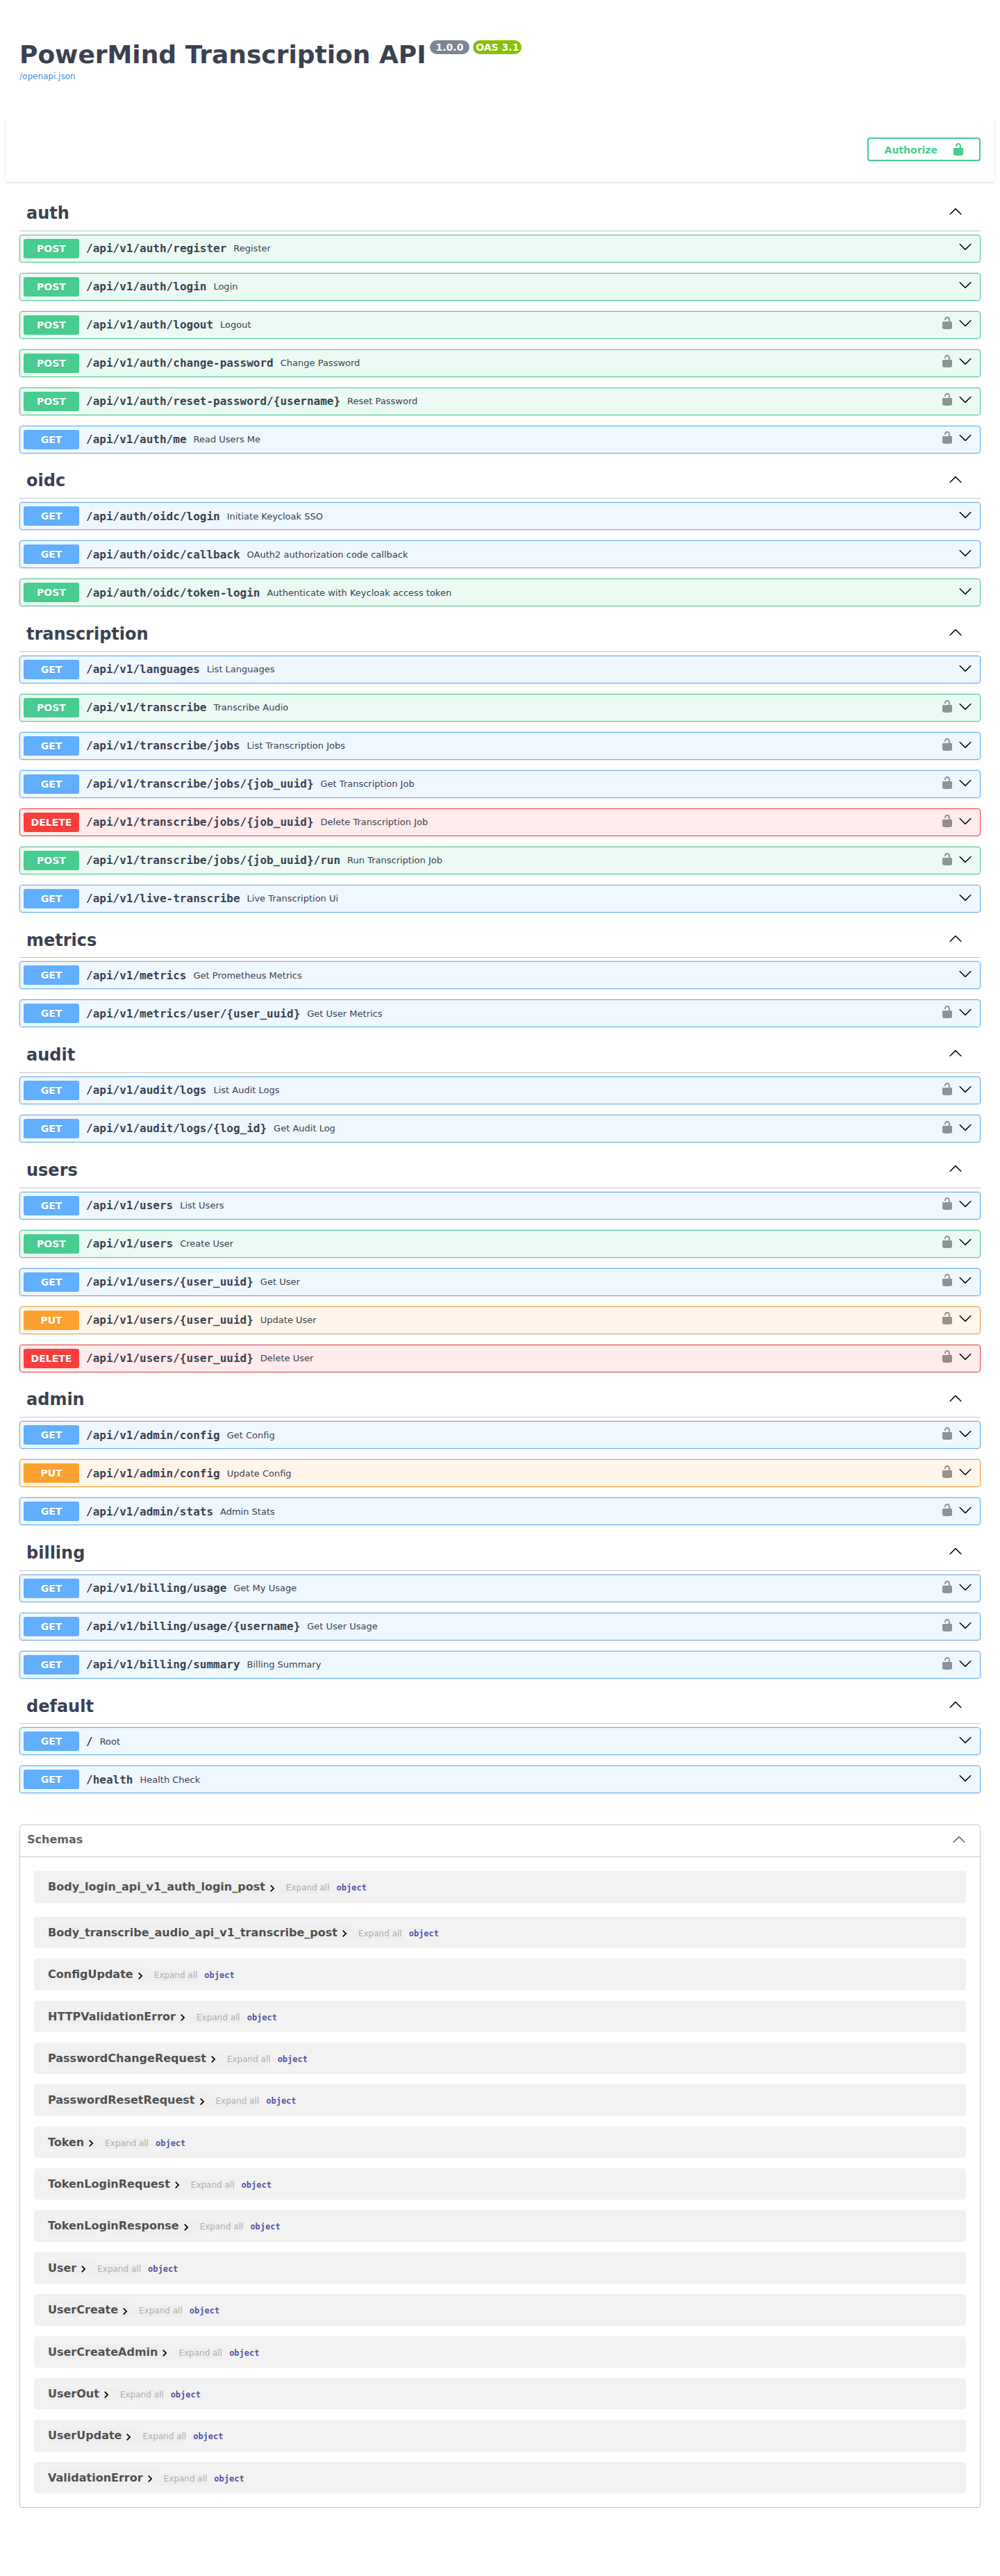
Details: API reference.