PowerMind VisionID User Guide
This guide explains the Studio interface for operators who are new to VisionID. VisionID is opened from AI Studio → Tools → VisionID. The Studio shell provides navigation, project selection, service health, and account controls; the VisionID workspace provides biometric operations.
Sign in
Use the organization sign-in option provided on the PowerMind AI Studio page, then select Sign in to continue.
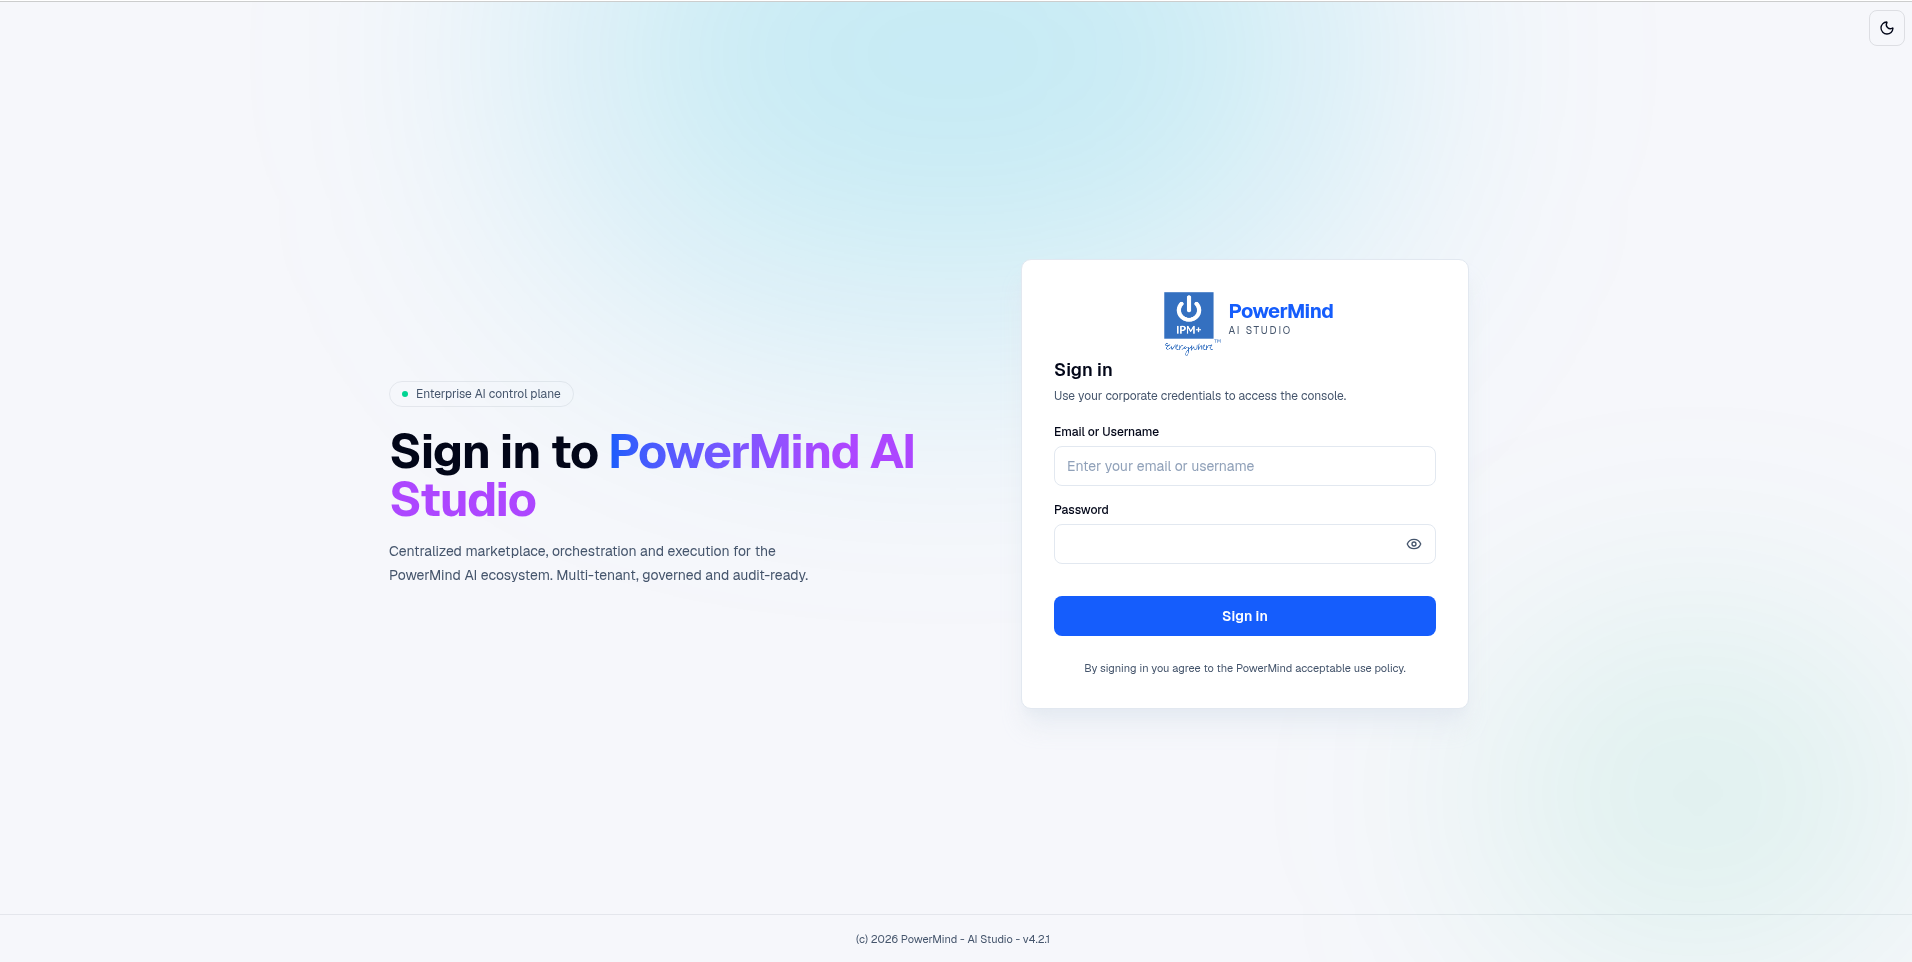
Figure 1. Sign in with your corporate credentials before opening VisionID.
After authentication, open Tools, select VisionID, and confirm that the green All services healthy indicator is present. If the indicator is not healthy, contact an administrator before starting a biometric operation.
VisionID navigation
The VisionID header contains these workspaces:
- Dashboard: enrollment totals, active identities, liveness rates, request counts, confidence, and system metrics.
- Identities: search and filter enrolled people, then open a profile to review or manage its status.
- Enrollment: create an identity using a live camera capture or an uploaded image.
- Recognition: identify an unknown person from a live camera stream and review the latest match.
- Verification: compare a capture with one known Person ID (one-to-one verification).
- Audit: review biometric and administrative activity, including successes and failures.
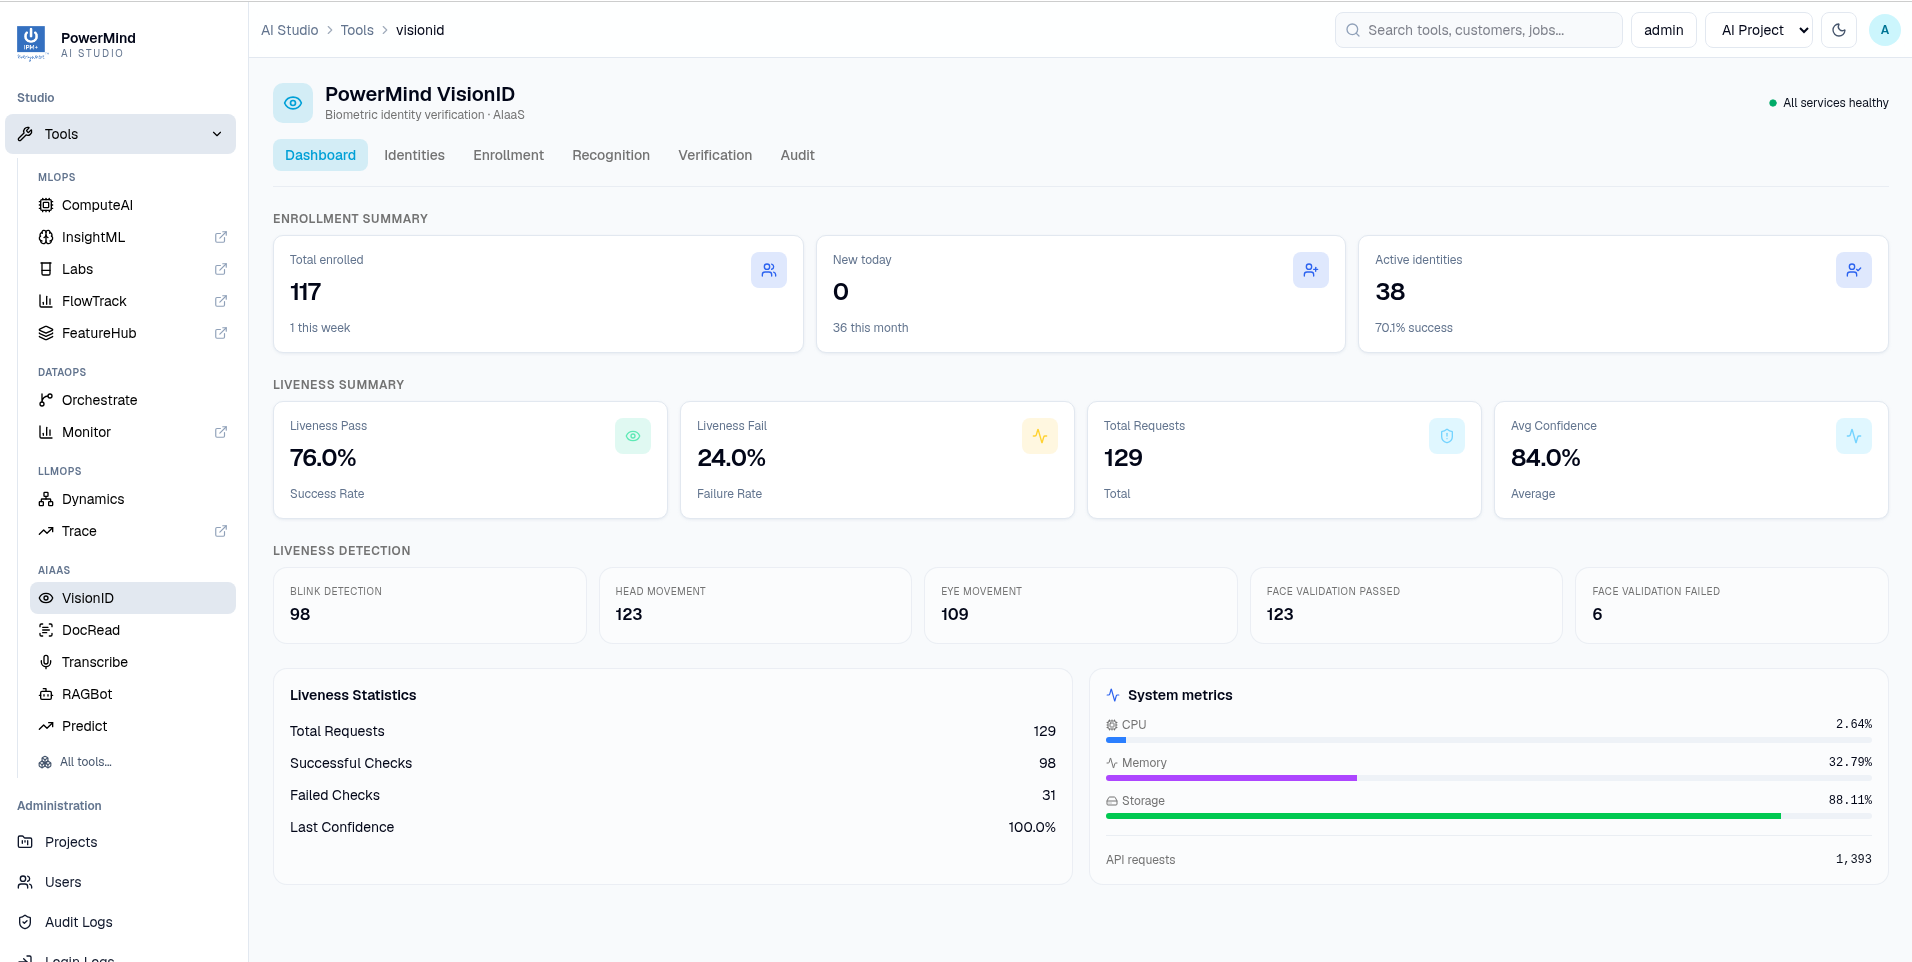
Figure 2. Dashboard health and usage summary.
Manage identities
Open Identities to search by name, Person ID, or department. Use the status filter when you need to find active or inactive records. Select a row or its action menu to view the complete profile and, where permitted, change the enrollment status or delete the enrollment.
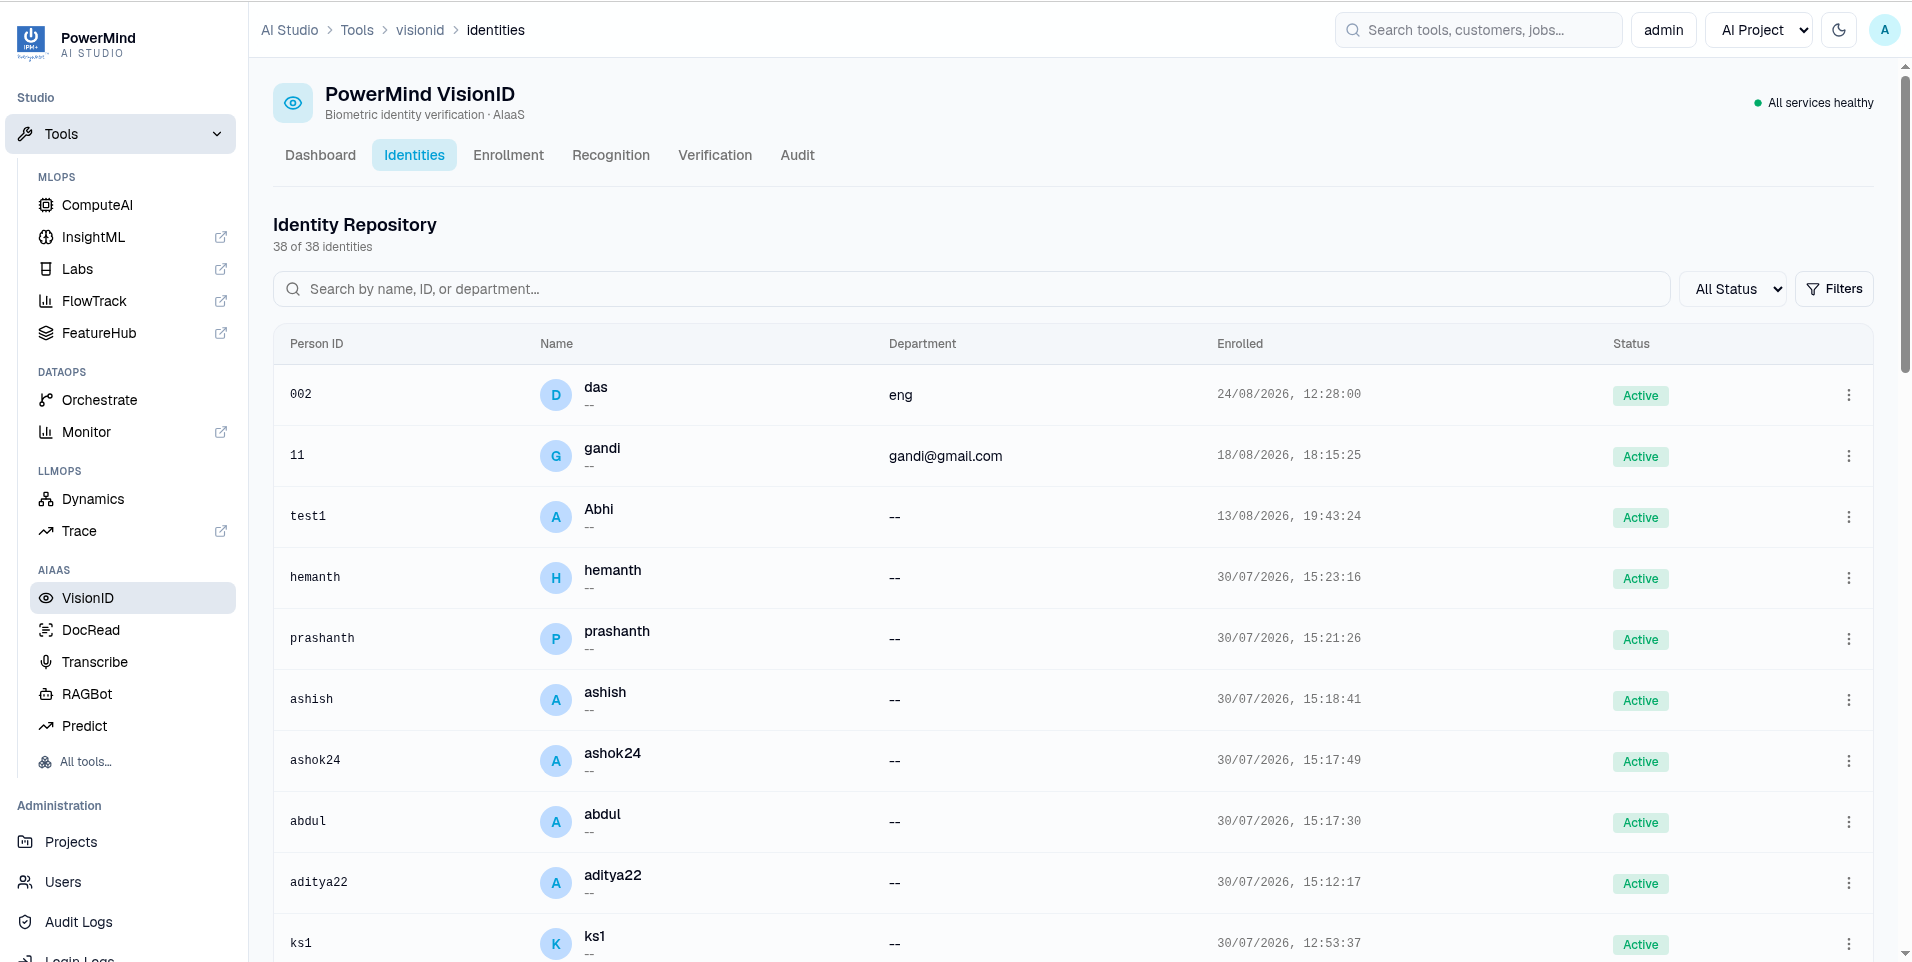
Figure 3. Searchable identity repository with enrollment date and status.
Enroll an identity
- Open Enrollment.
- Enter the required Person ID and Full name. Add employee, department, contact, location, manager, tags, and notes when available.
- Enable Force Update Existing Identity only when you intentionally want to replace the biometric record for an existing Person ID.
- Choose Live capture and start the camera, or choose Upload photo and select a clear JPG or PNG image.
- Confirm that the image contains exactly one face, then select Enroll Identity.
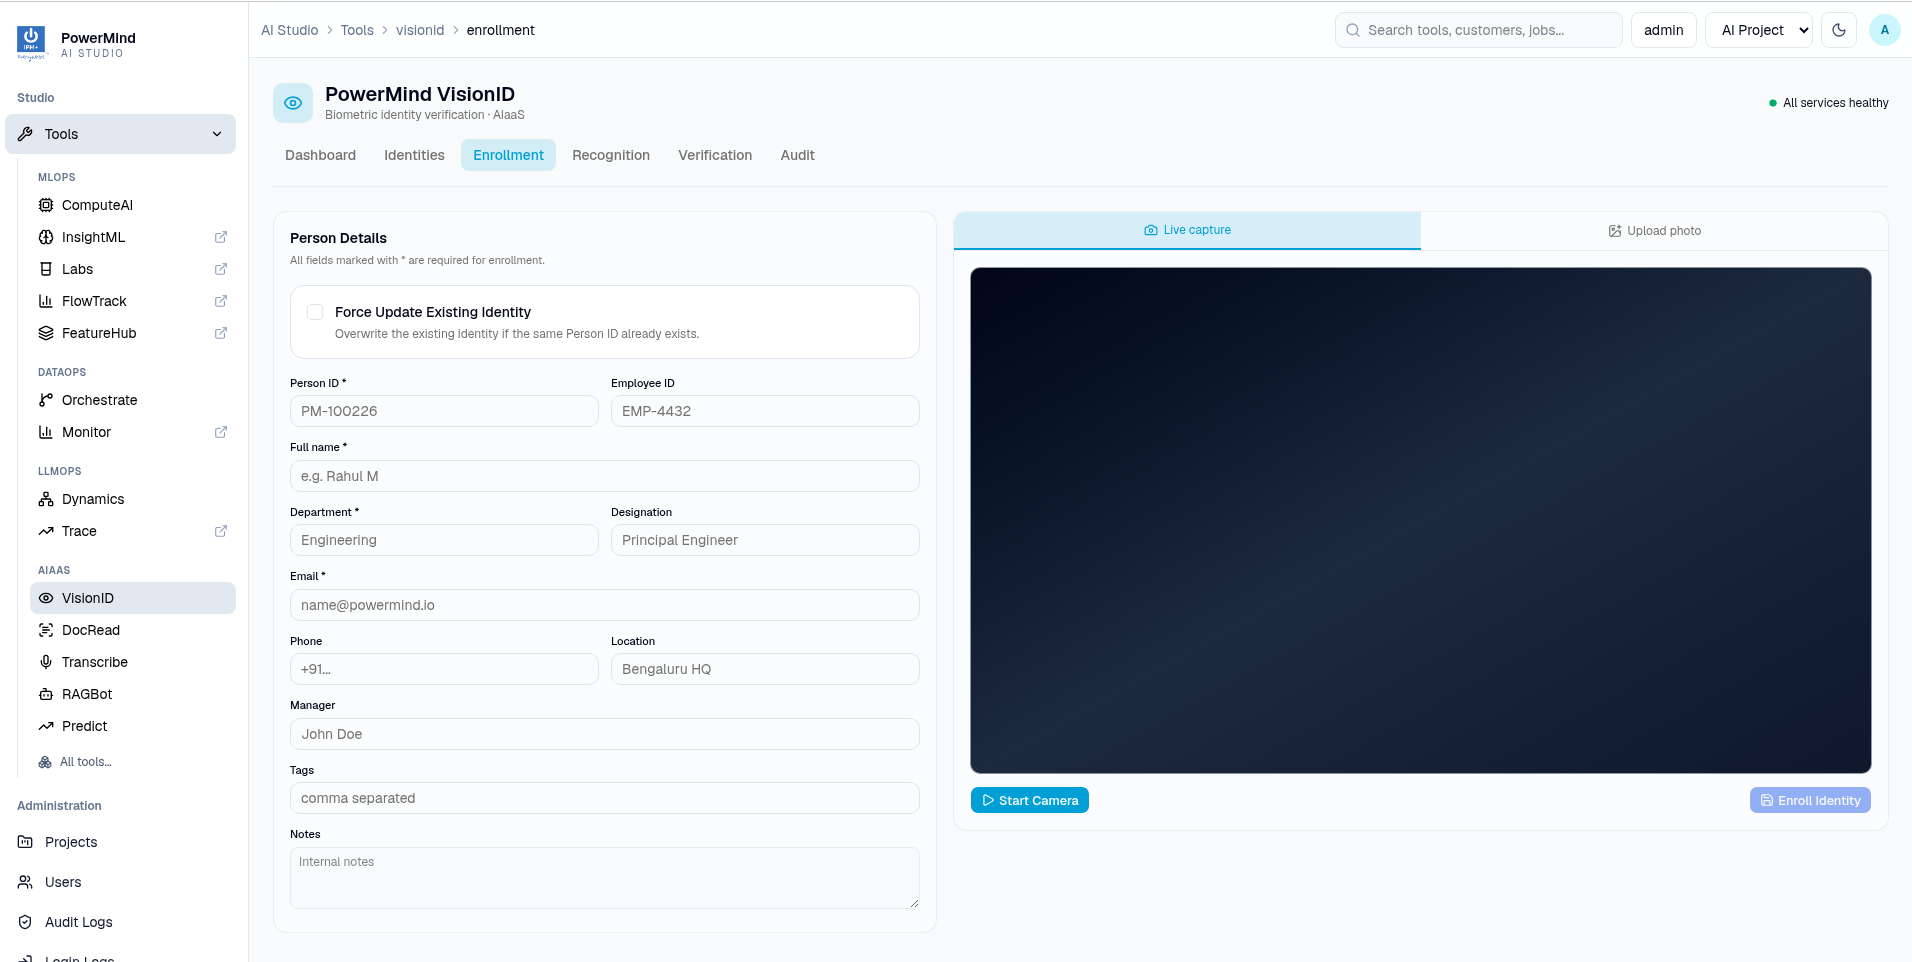
Figure 4. Enter person metadata and select a live capture or uploaded photo.
Use a well-lit, frontal image. Do not enroll group photos, blurry images, or images containing masks or sunglasses. Keep the Person ID unique and do not store unnecessary sensitive information in notes.
Recognize a person
Open Recognition, select Start Camera, and allow browser camera access. Select Recognize while the person is visible. The Last match panel reports the matched identity, confidence, and liveness result; the recognition feed records recent events.
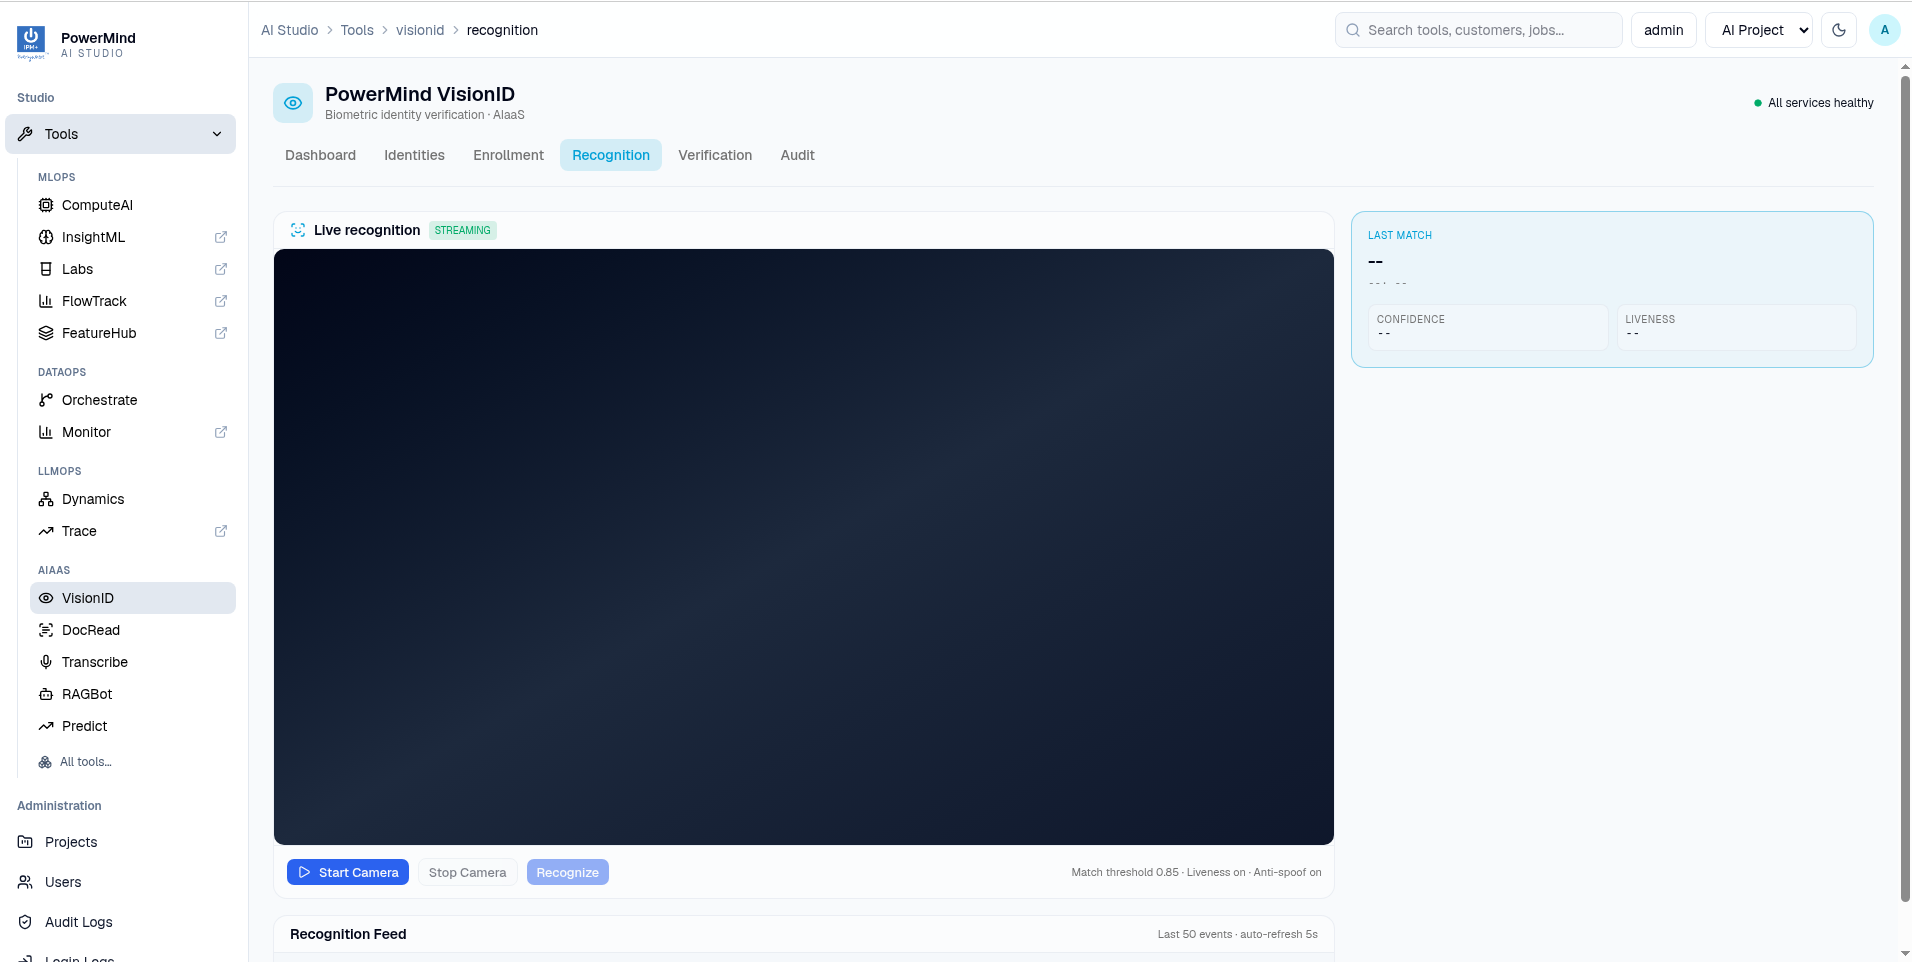
Figure 5. Live recognition shows the camera stream and latest match.
Recognition is a one-to-many search across active enrolled identities. A failed liveness check or a confidence below the configured threshold should be treated as no match.
Verify a claimed identity
Open Verification, enter the known Person ID, then use Live capture or Upload image. Start the camera if needed, capture the face, and select Run Verification. Review the match verdict, confidence, liveness, and audit result.
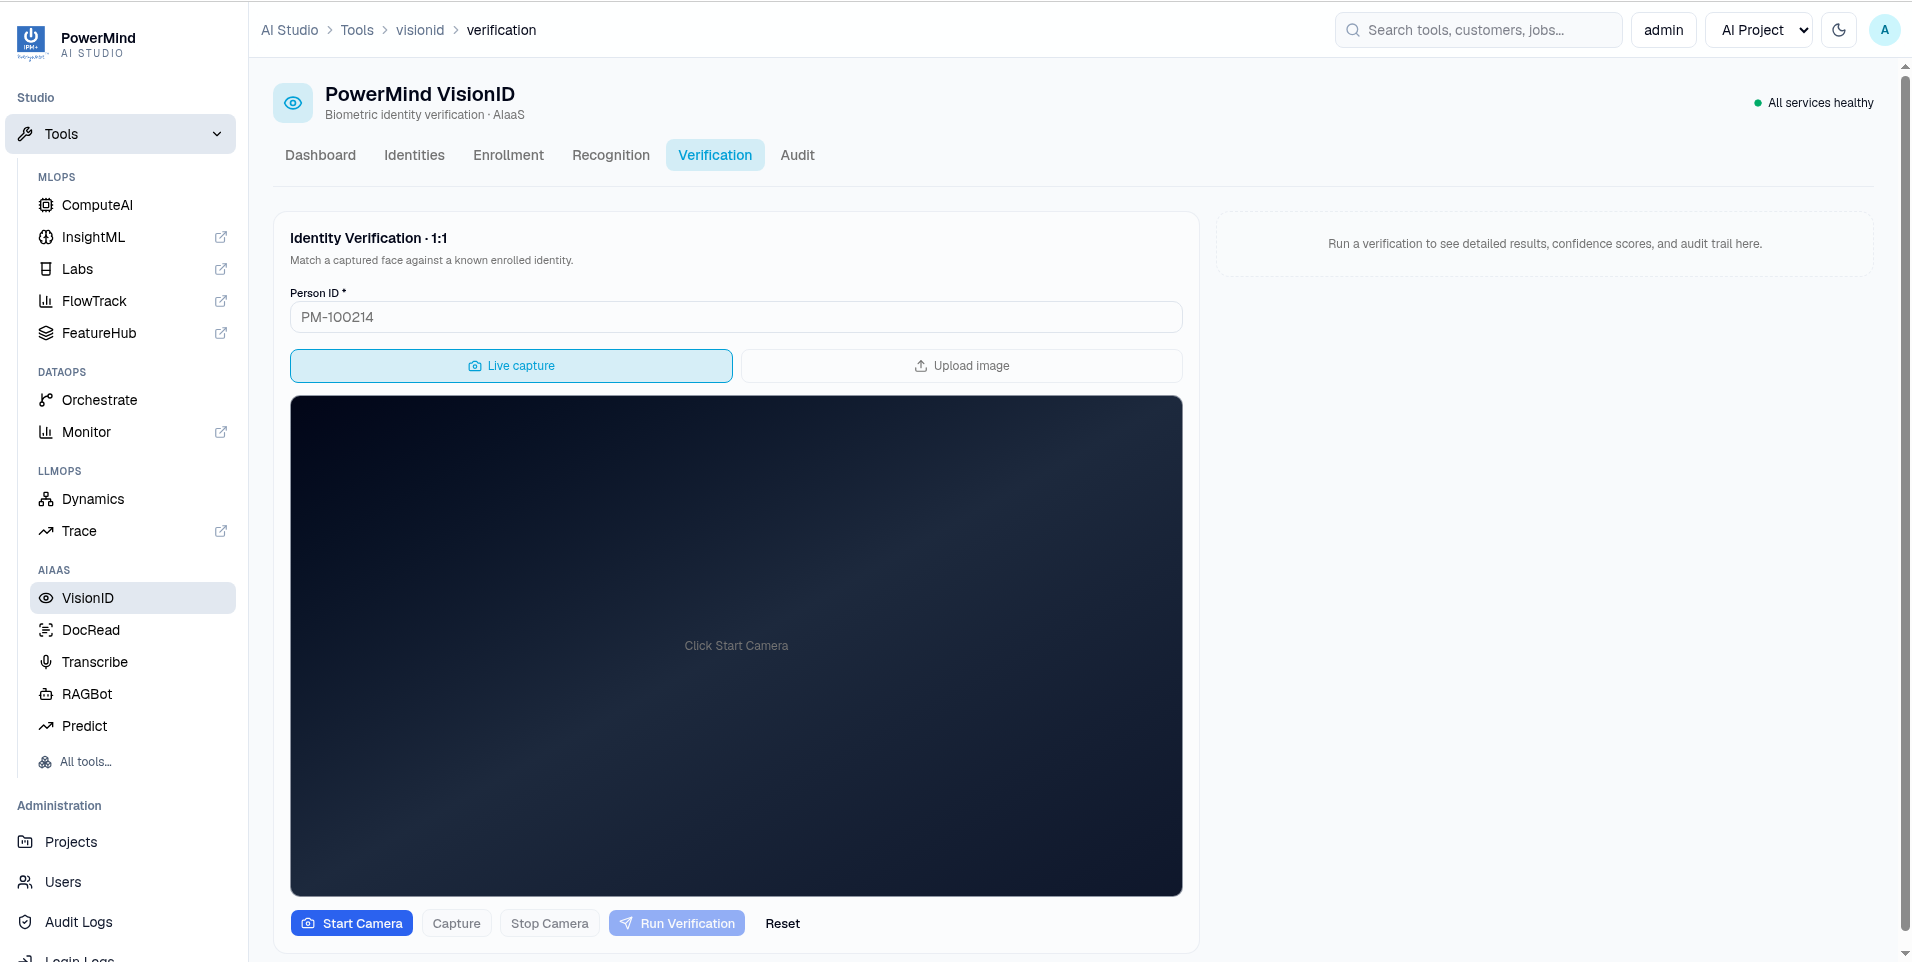
Figure 6. One-to-one verification compares a capture with the supplied Person ID.
Verification is different from recognition: it answers whether the face matches the specific Person ID entered, rather than searching the entire repository.
Review the audit log
Open Audit to review login, enrollment, recognition, verification, status-change, and deletion events. Check the timestamp, operator, action, Person ID, result, and comments when investigating an incident. Audit access and log-clearing permissions depend on the operator role.
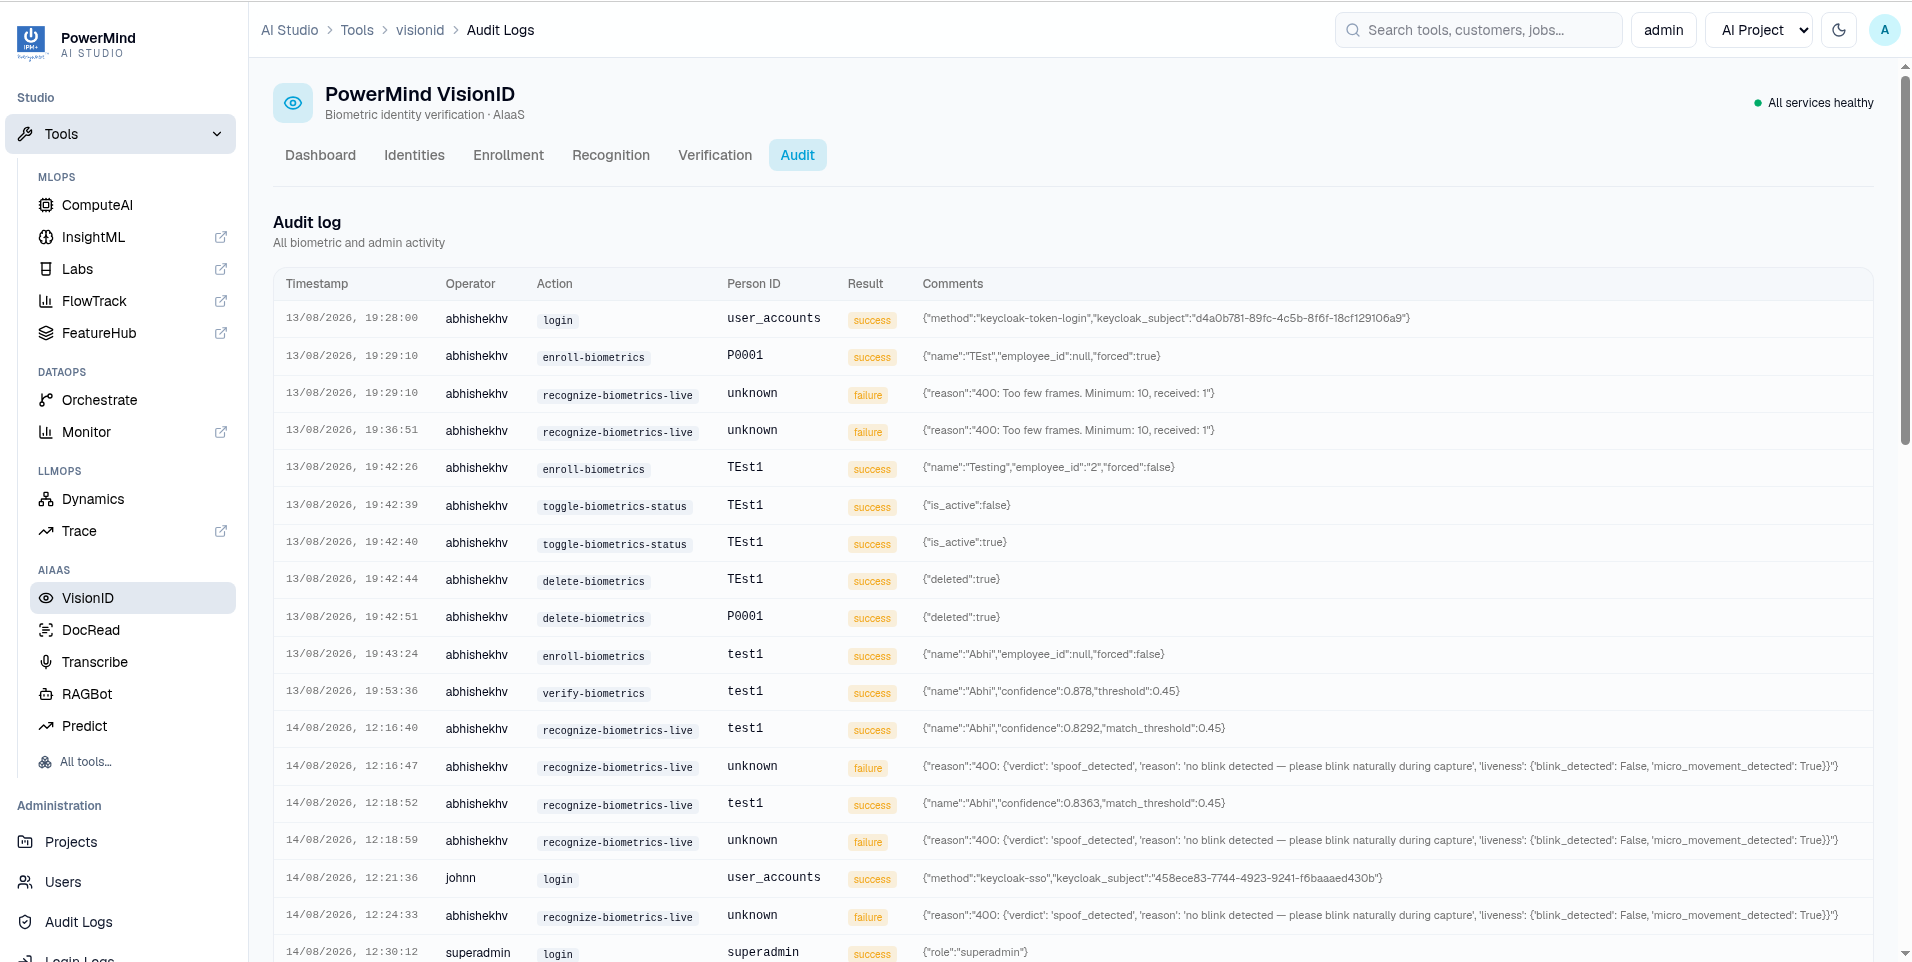
Figure 7. Audit log entries provide an operational trail for biometric and admin actions.
Roles and safe operation
- Superadmin and admin can perform enrollment and administrative tasks according to backend policy.
- Viewer can recognize and verify identities but cannot enroll people or manage users.
- Treat confidence and liveness as decision-support signals and follow your organization’s escalation process for uncertain results.
- Use HTTPS for camera workflows and sign out when finished on a shared workstation.