Getting Started — First login to first forecast
Use this if you have never opened Predict. You need a Studio URL from your operator and a username/password (corporate credentials).
1. Sign in to PowerMind AI Studio
Open the Studio URL. You should see Sign in to PowerMind AI Studio.
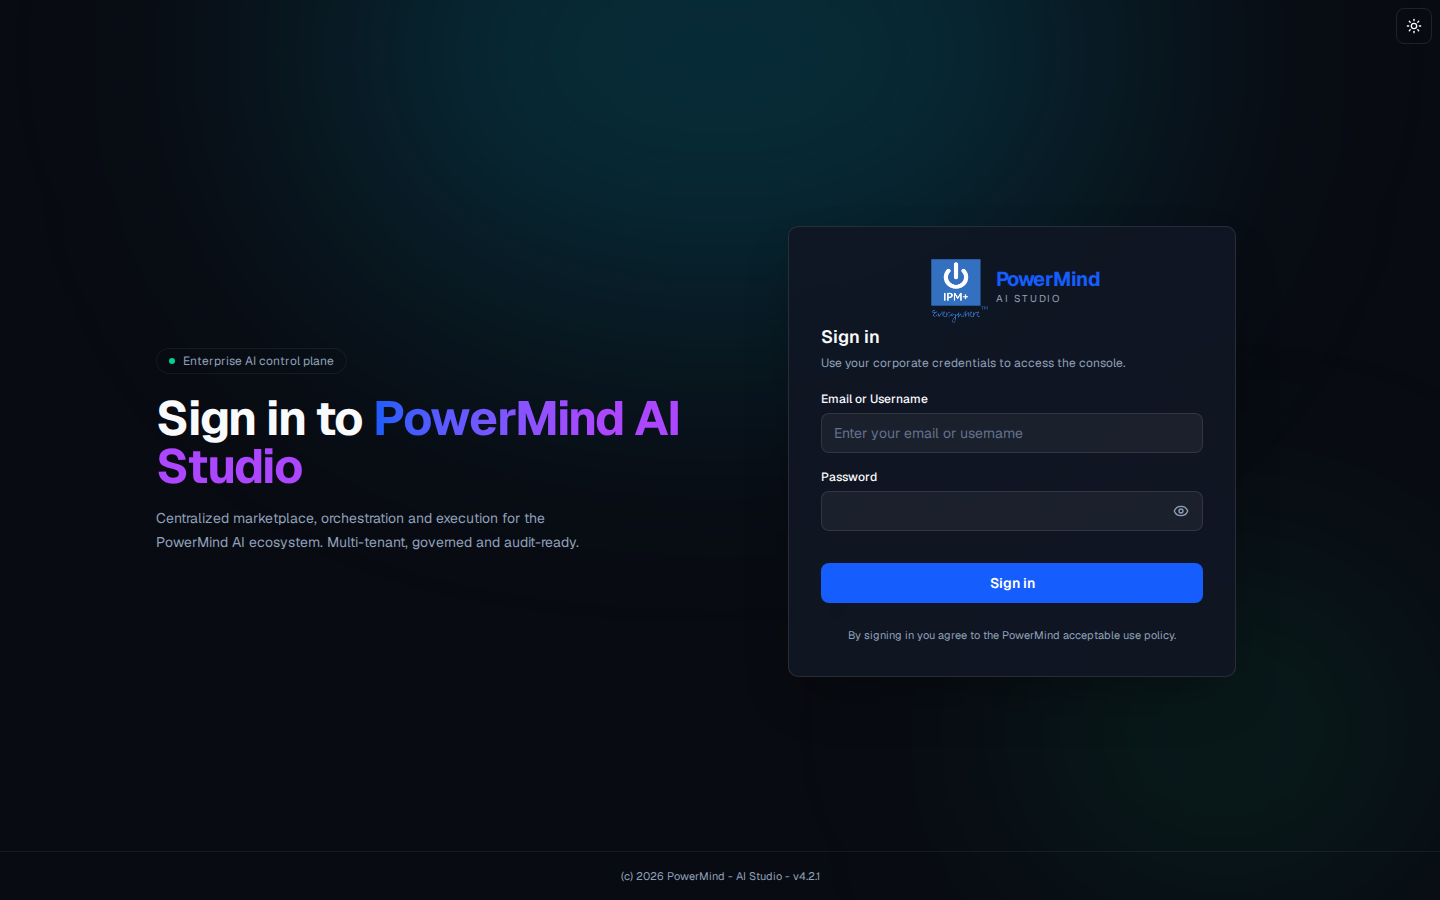
- Enter Email or Username.
- Enter Password (eye icon shows/hides the password).
- Click the blue Sign in button.
- Optional: sun icon (top right) switches light/dark theme.
2. Choose the project and open Predict
After login you land on Tool Marketplace.
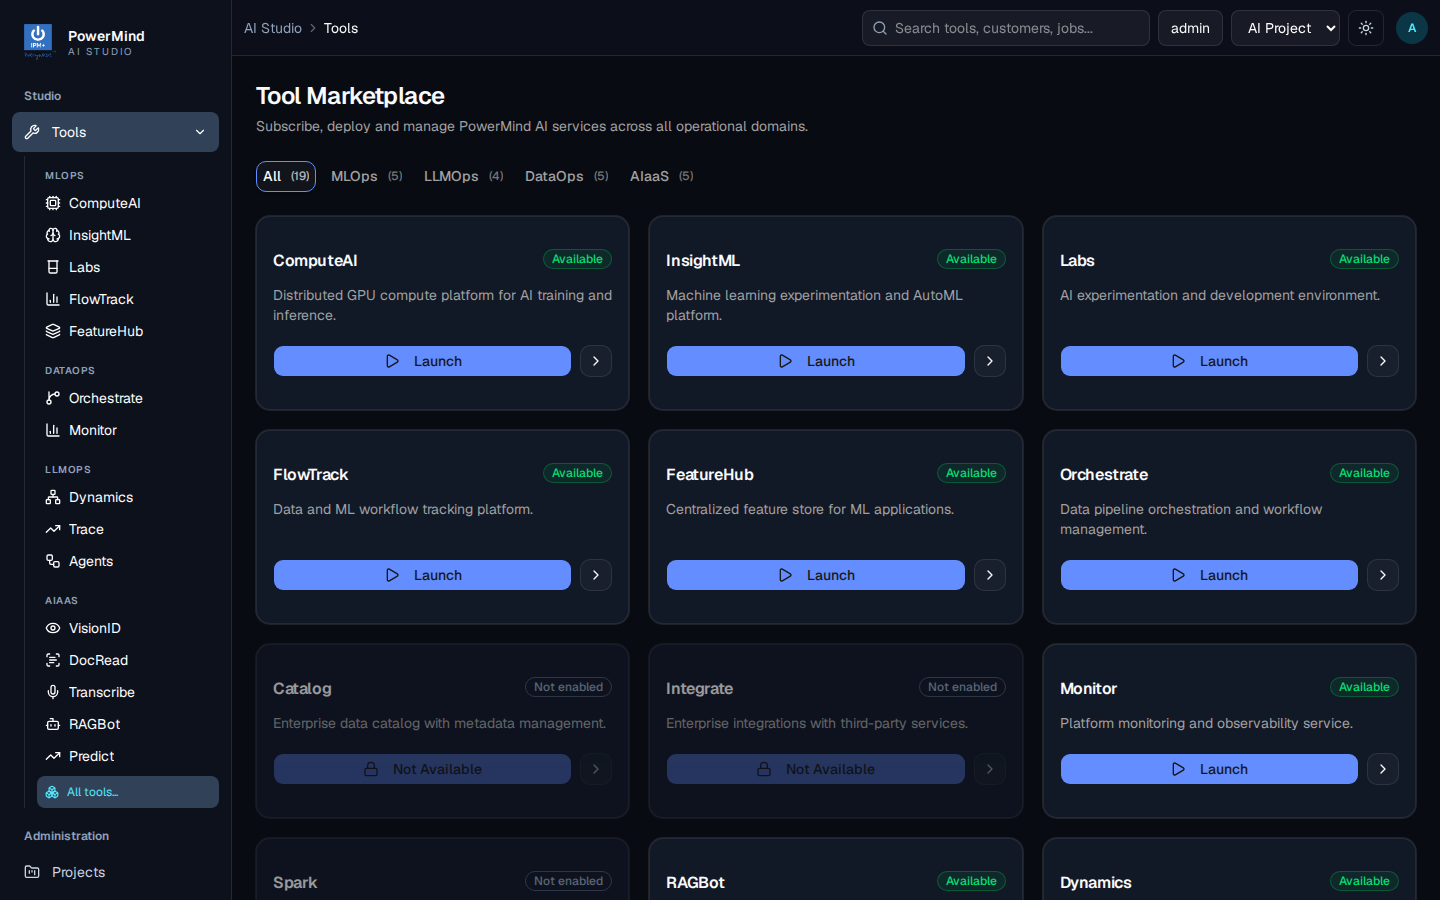
- Confirm the project in the top bar (for example AI Project).
- In the left menu under AIAAS, click Predict
— or open
…/app/tools/predict, — or find Predict on the marketplace and click Launch. - Breadcrumb becomes
AI Studio > Tools > predict.
Header: PowerMind Predict — Forecasting & predictive analytics · AIaaS ·.
3. Check the Dashboard
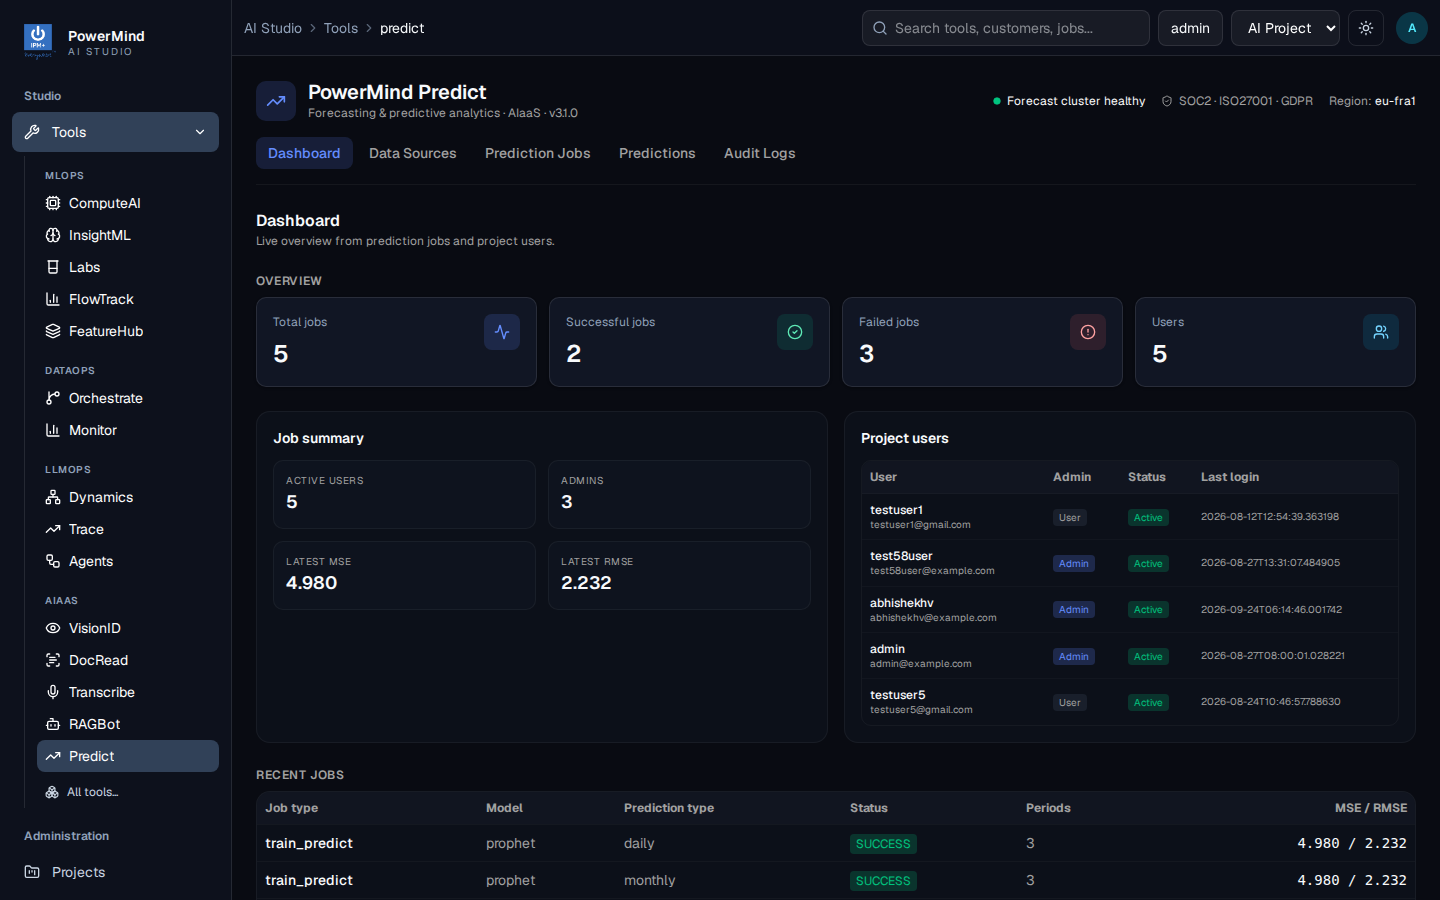
You should see overview cards (Total / Successful / Failed jobs, Users), latest MSE / RMSE, project users, and Recent jobs.
The Dashboard is a snapshot. It does not run a forecast by itself.
4. Confirm your data (Data Sources)
Open Data Sources.
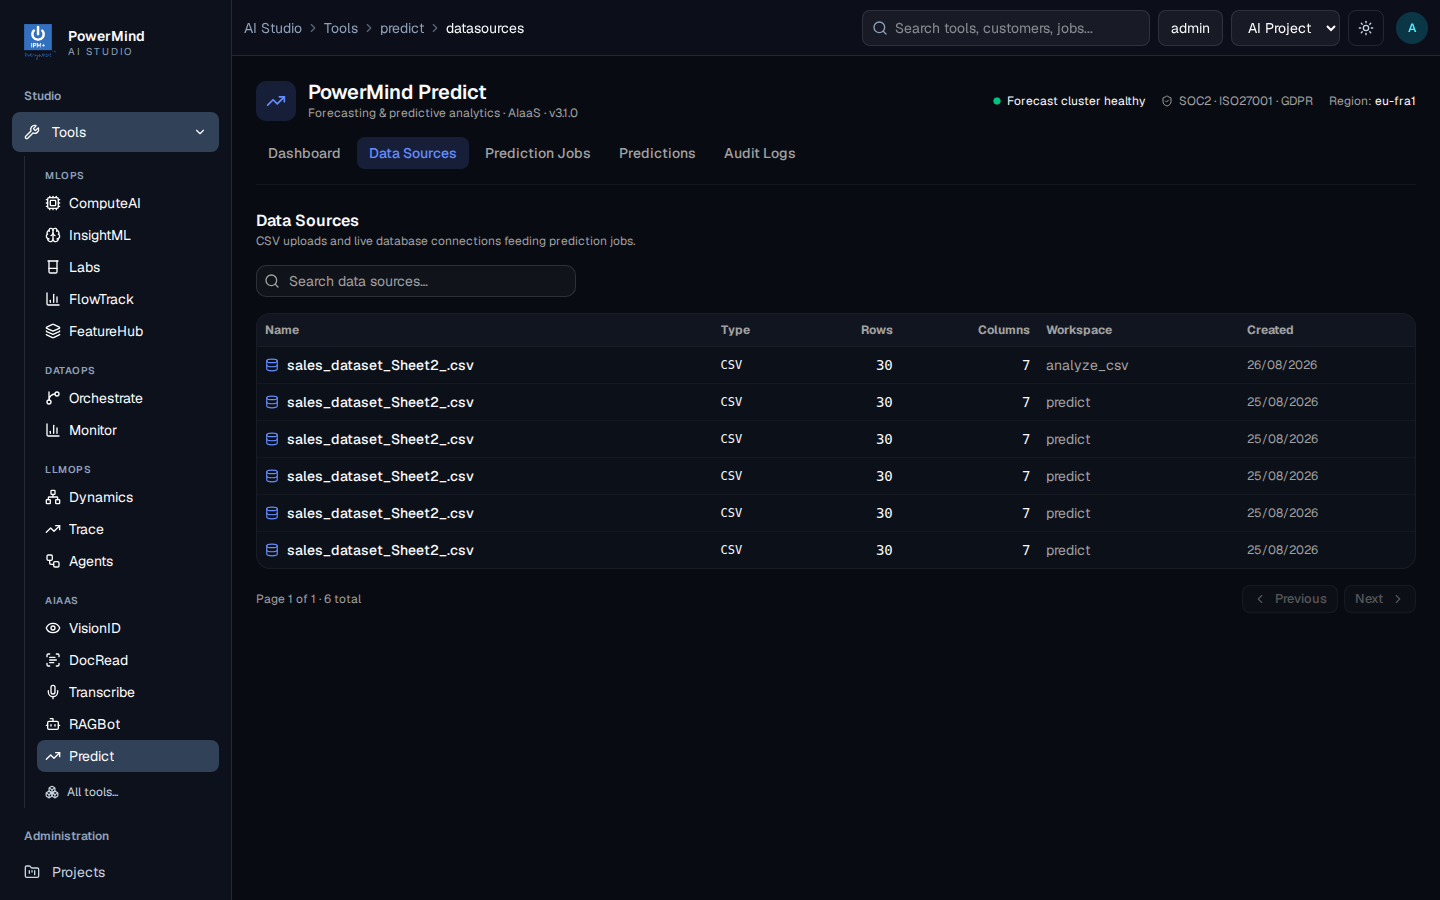
Here you see CSV files already uploaded (name, type, rows, columns, workspace such as analyze_csv or predict, created date). Search with Search data sources....
If the list is empty, you will add a CSV when you create a new prediction.
5. Run a prediction job
Open Prediction Jobs.
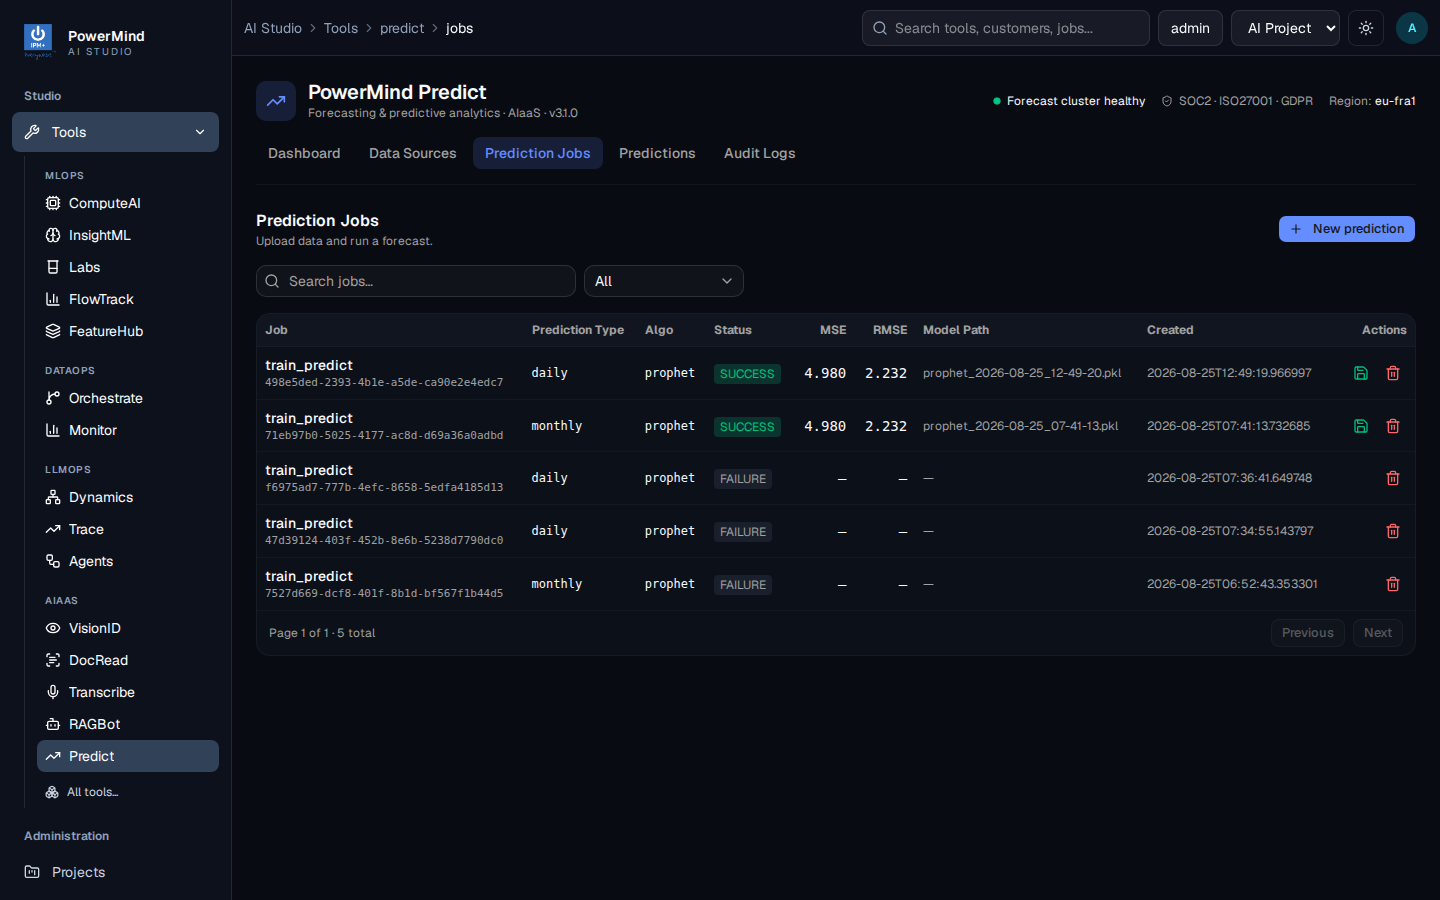
- Click + New prediction (opens Create Prediction Job).
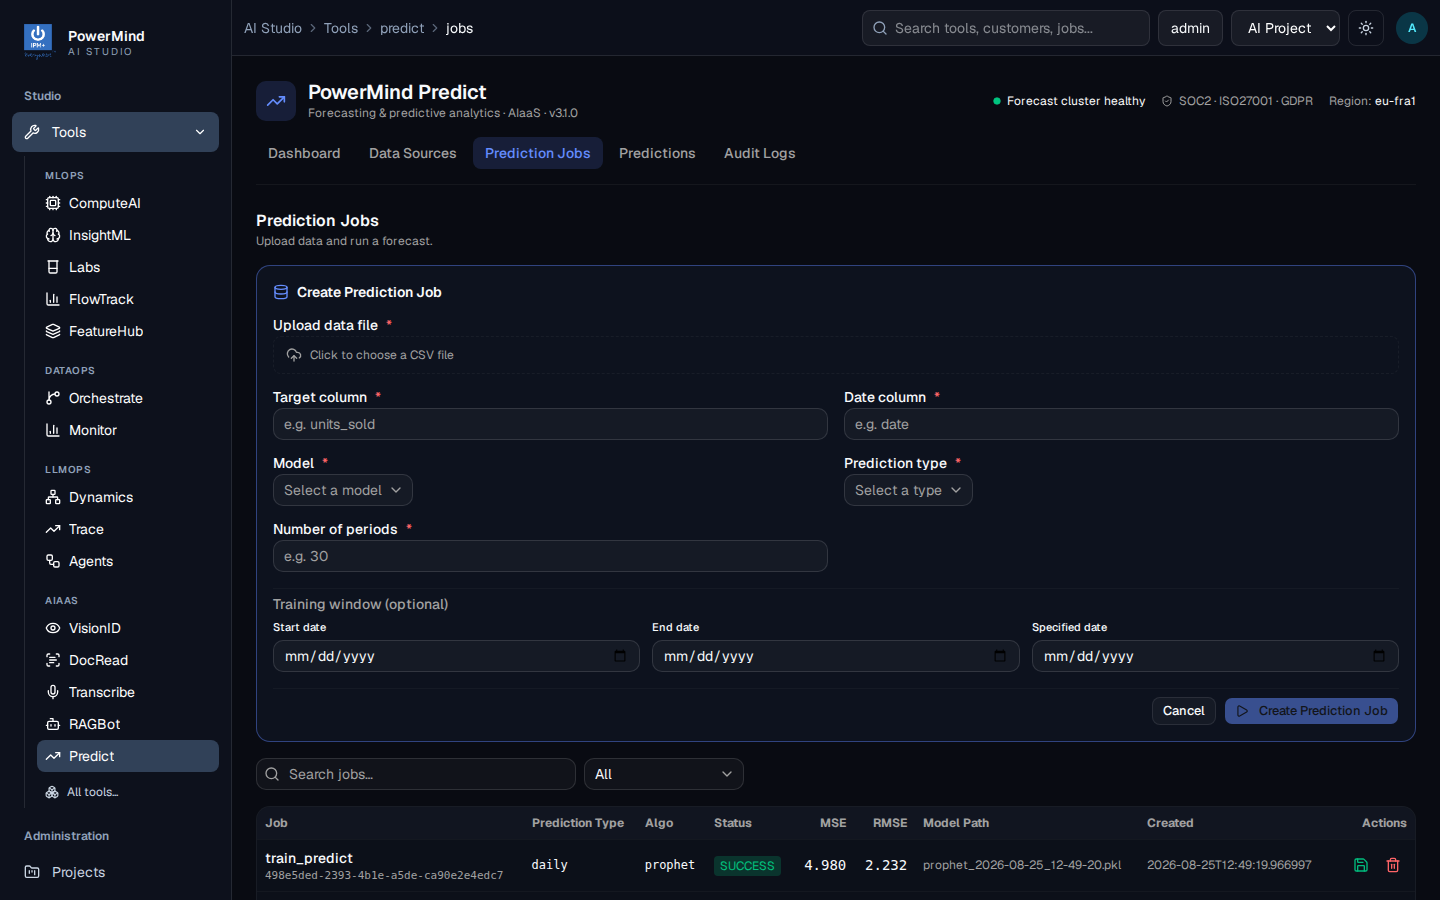
- Upload a CSV and fill:
- Target column (e.g.
units_sold) - Date column (e.g.
date) - Model and Prediction type
- Number of periods (e.g.
30) - Optional training window dates
- Click Create Prediction Job and wait until status is SUCCESS (or FAILURE with an error to fix).
- Use the green document action to open results, or the trash icon to delete a job.
Successful rows show MSE / RMSE and a model path like prophet_2026-08-25_12-49-20.pkl.
6. Read the forecast
Open Predictions (or open a job from the jobs table).
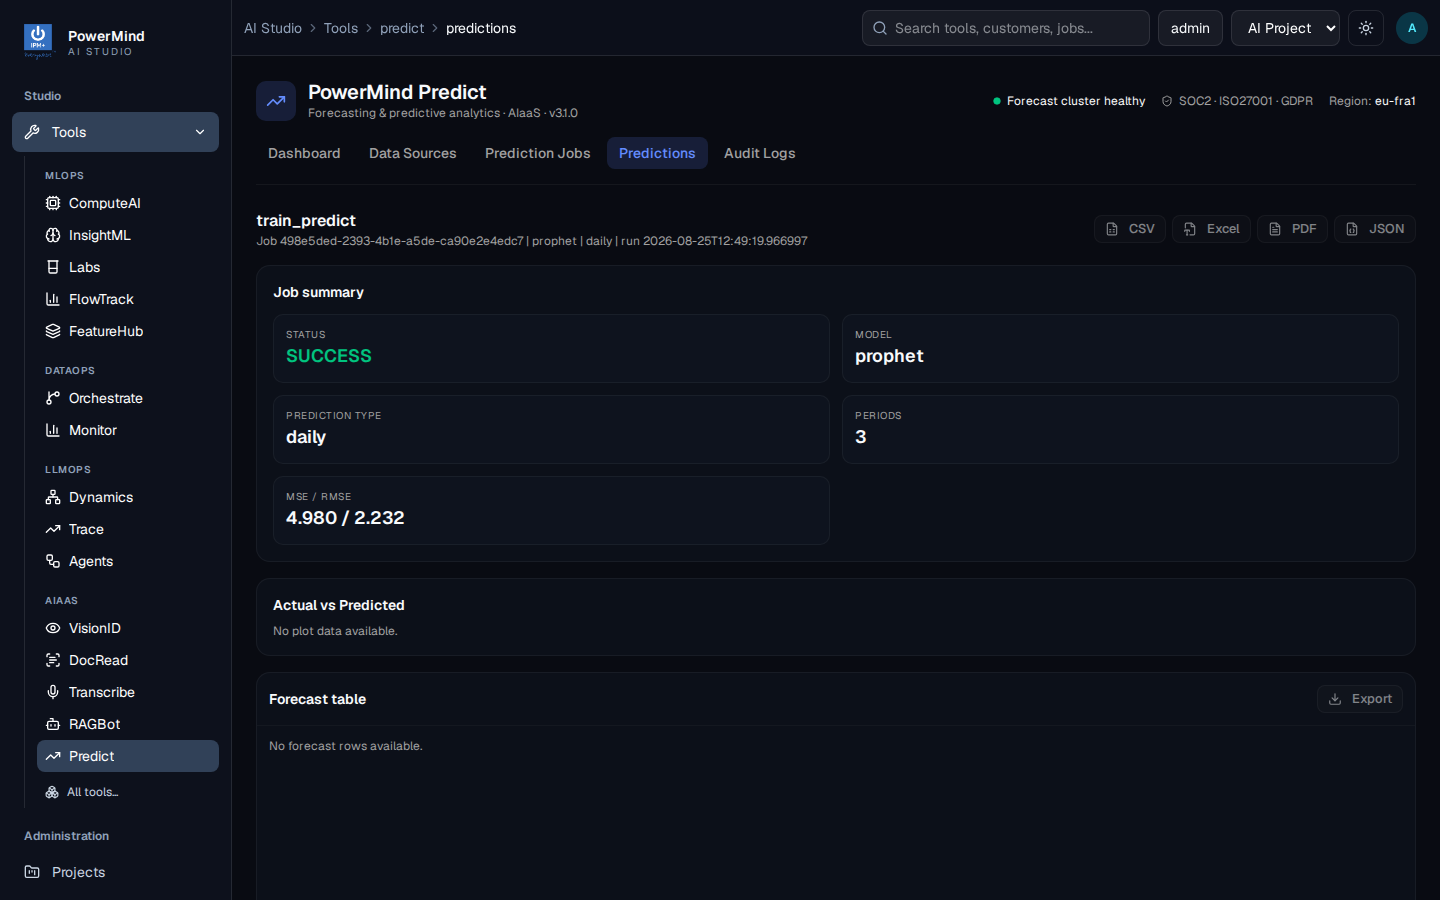
Check status, model, prediction type, periods, MSE/RMSE. Export with CSV / Excel / PDF / JSON when available. Charts and forecast tables appear when the job returned plot/row data.
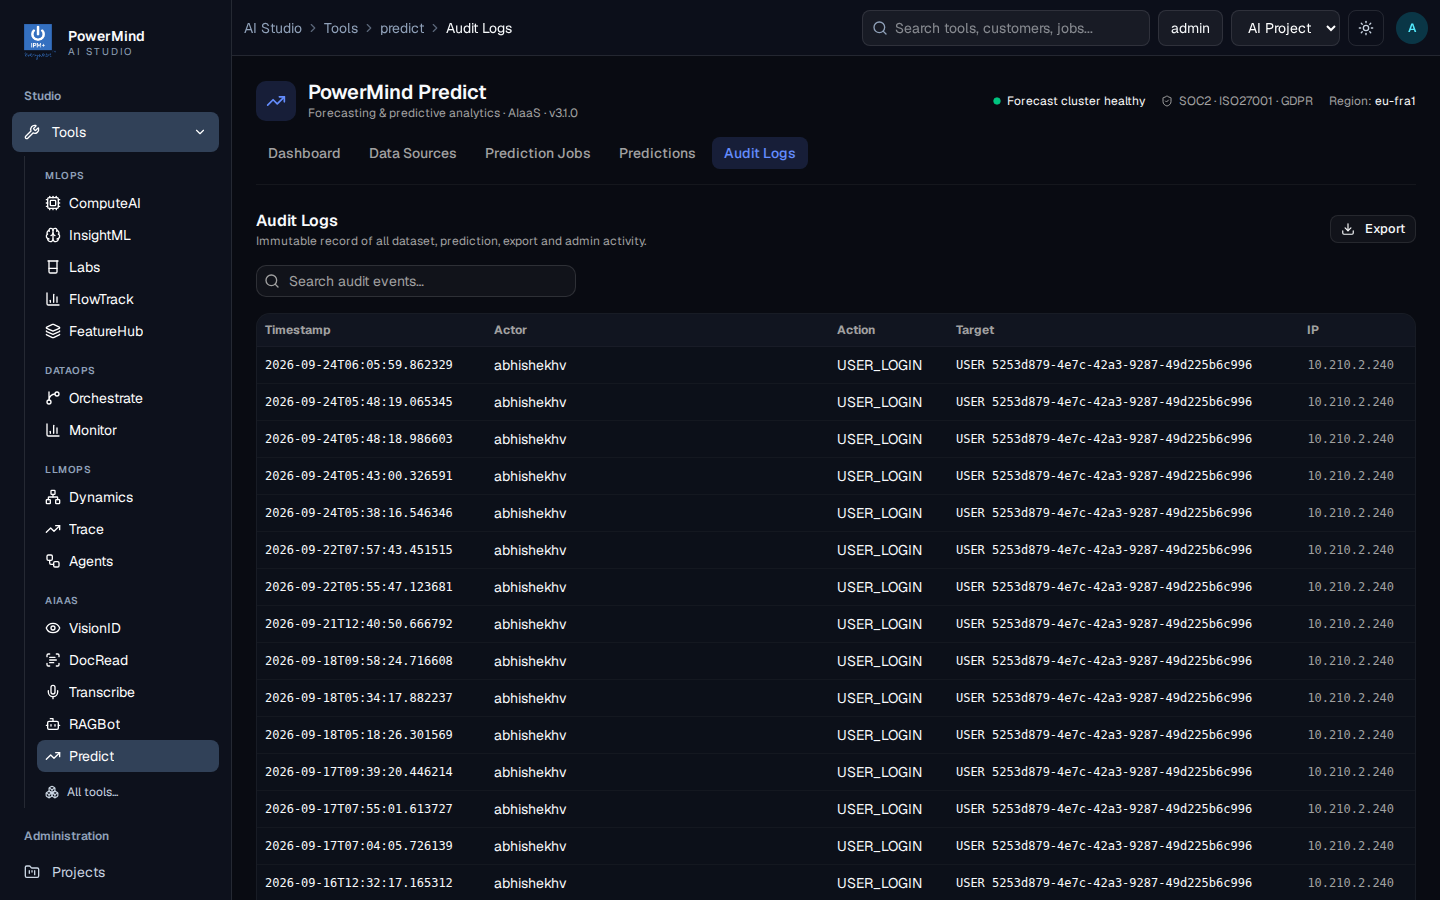
7. Optional: Audit Logs
Open Audit Logs to see recent activity (login, jobs, exports).
You now know the full user path. For every screen in more detail, see the User Guide.